
Pea Shoot Grow Guide

by Sarah Wallen
Finding fresh greens during the freezing Northeast winters can be a challenging and frustrating experience. Below freezing temperatures make it impossible for even the hardiest crops to continue producing outdoors past December. It is often in these darkest months that we find ourselves craving vitamin and nutrient-rich plant foods to lift our spirits and nourish our bodies. Enter pea shoots!
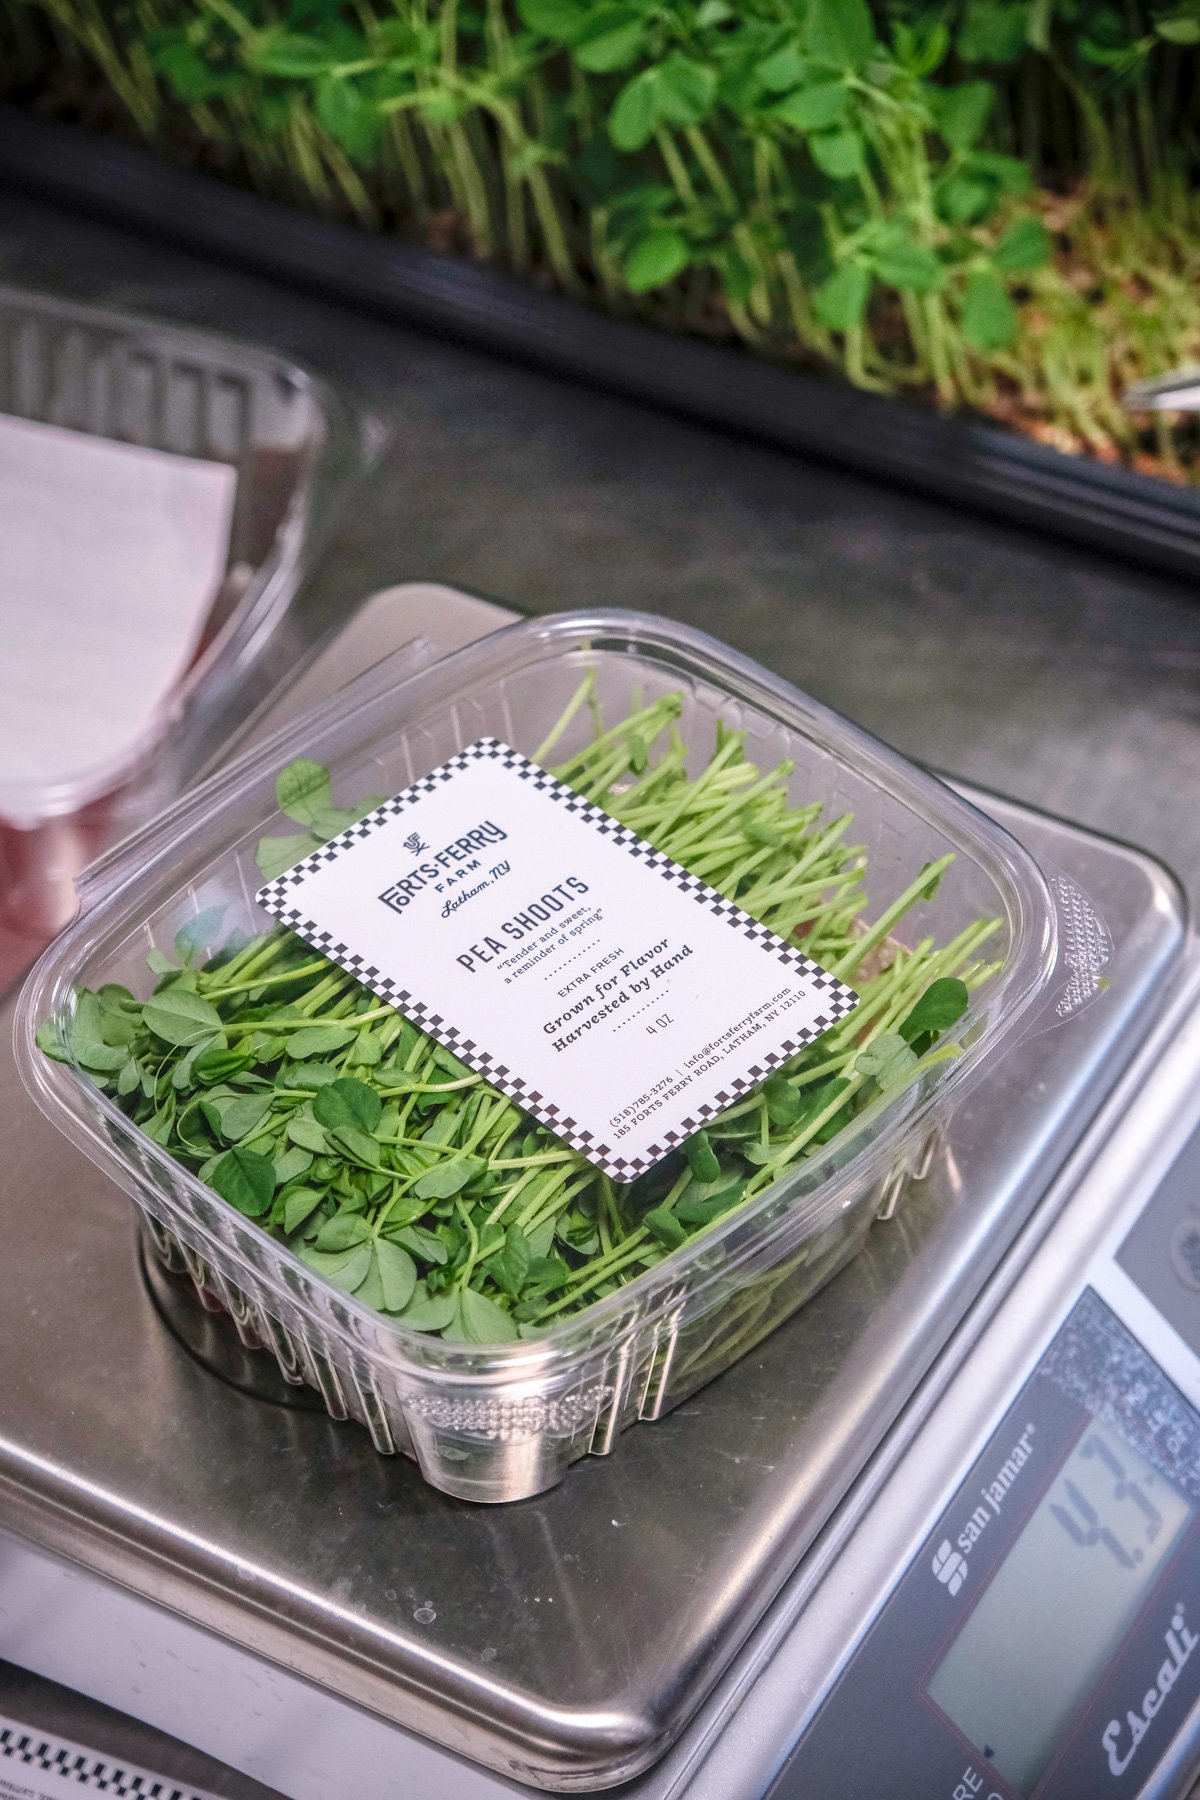
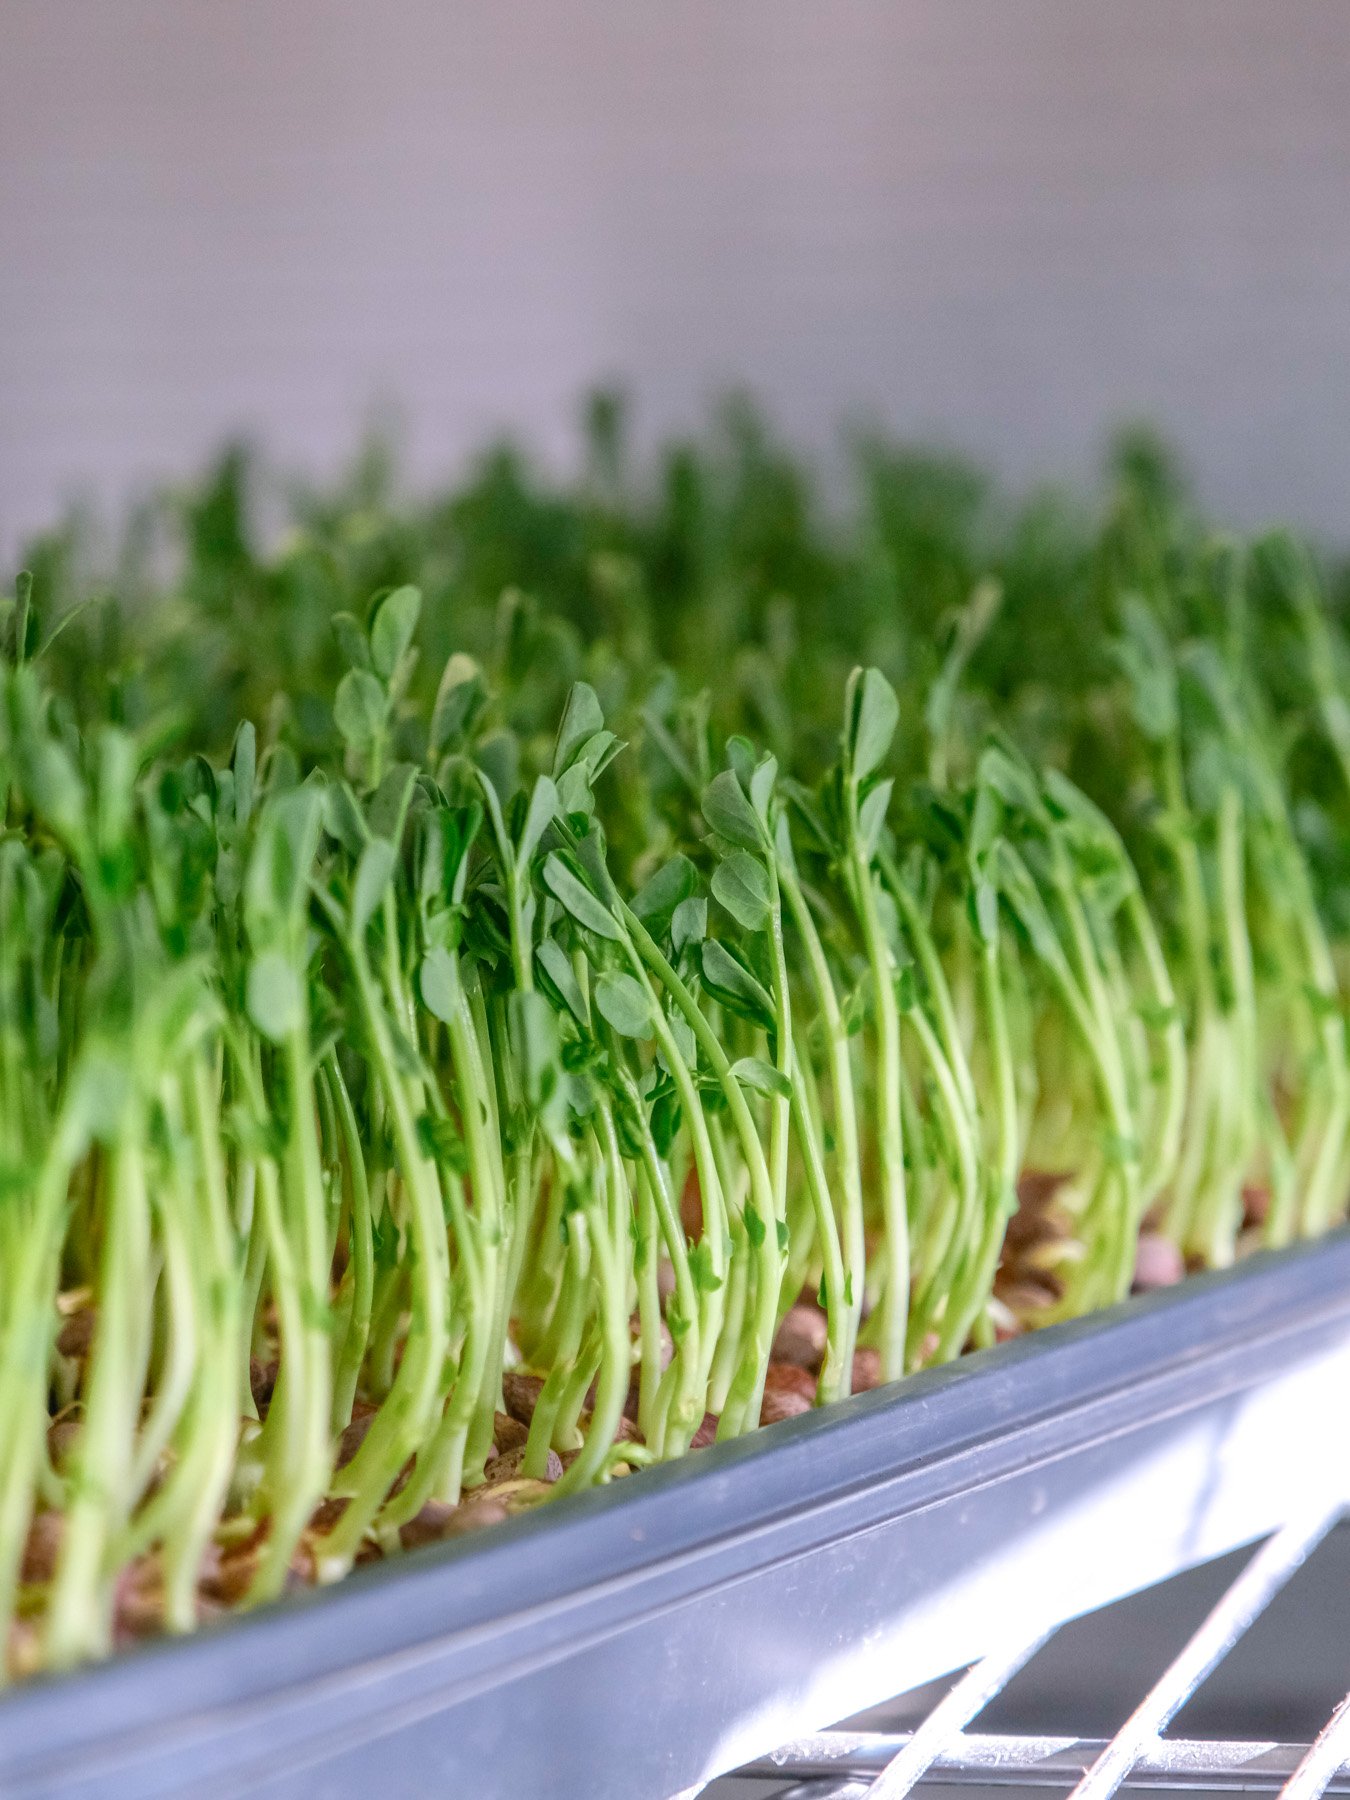
Pea shoots are light and crisp greens reminiscent of spring. Use fresh in a salad or cook down in a stir fry. These greens have the flavor of snap peas and are packed with Vitamins A, C, D, K, Calcium, Phosphorus, Folate, and Iron. They are a nutrient-dense crop that can be easily grown in an indoor setup all winter long. Over the course of 10 days, we watch a handful of seeds transform into a harvestable and delicious fresh green with very little material and maintenance needed. Below is a step-by-step guide of how we grow pea shoots at Forts Ferry Farm. Growing indoors is not a one-size-fits-all system. Our unique setup took months to dial in and many rounds of trials (including some failures) to perfect our method. This method of growing can be easily adapted for home growers, and can also be utilized to experiment with growing other shoots such as sunflowers and nasturtium.
How we grow Pea Shoots
MATERIALS TO GET STARTED
(for 1 tray of pea shoots)
10 oz pea shoot seed (what we use)
Potting soil mix (what we use)
Seeds will germinate more evenly in a finer potting soil1020 shallow plant trays with holes
1020 shallow trays with no holes
(1 in a dark color for blacking out light)Full-spectrum LED grow lights
(we use two 42W Barrina LED Grow Lights per tier)Small fan to promote air circulation
(what we use)Mist spray bottles
3% Food grade hydrogen peroxide
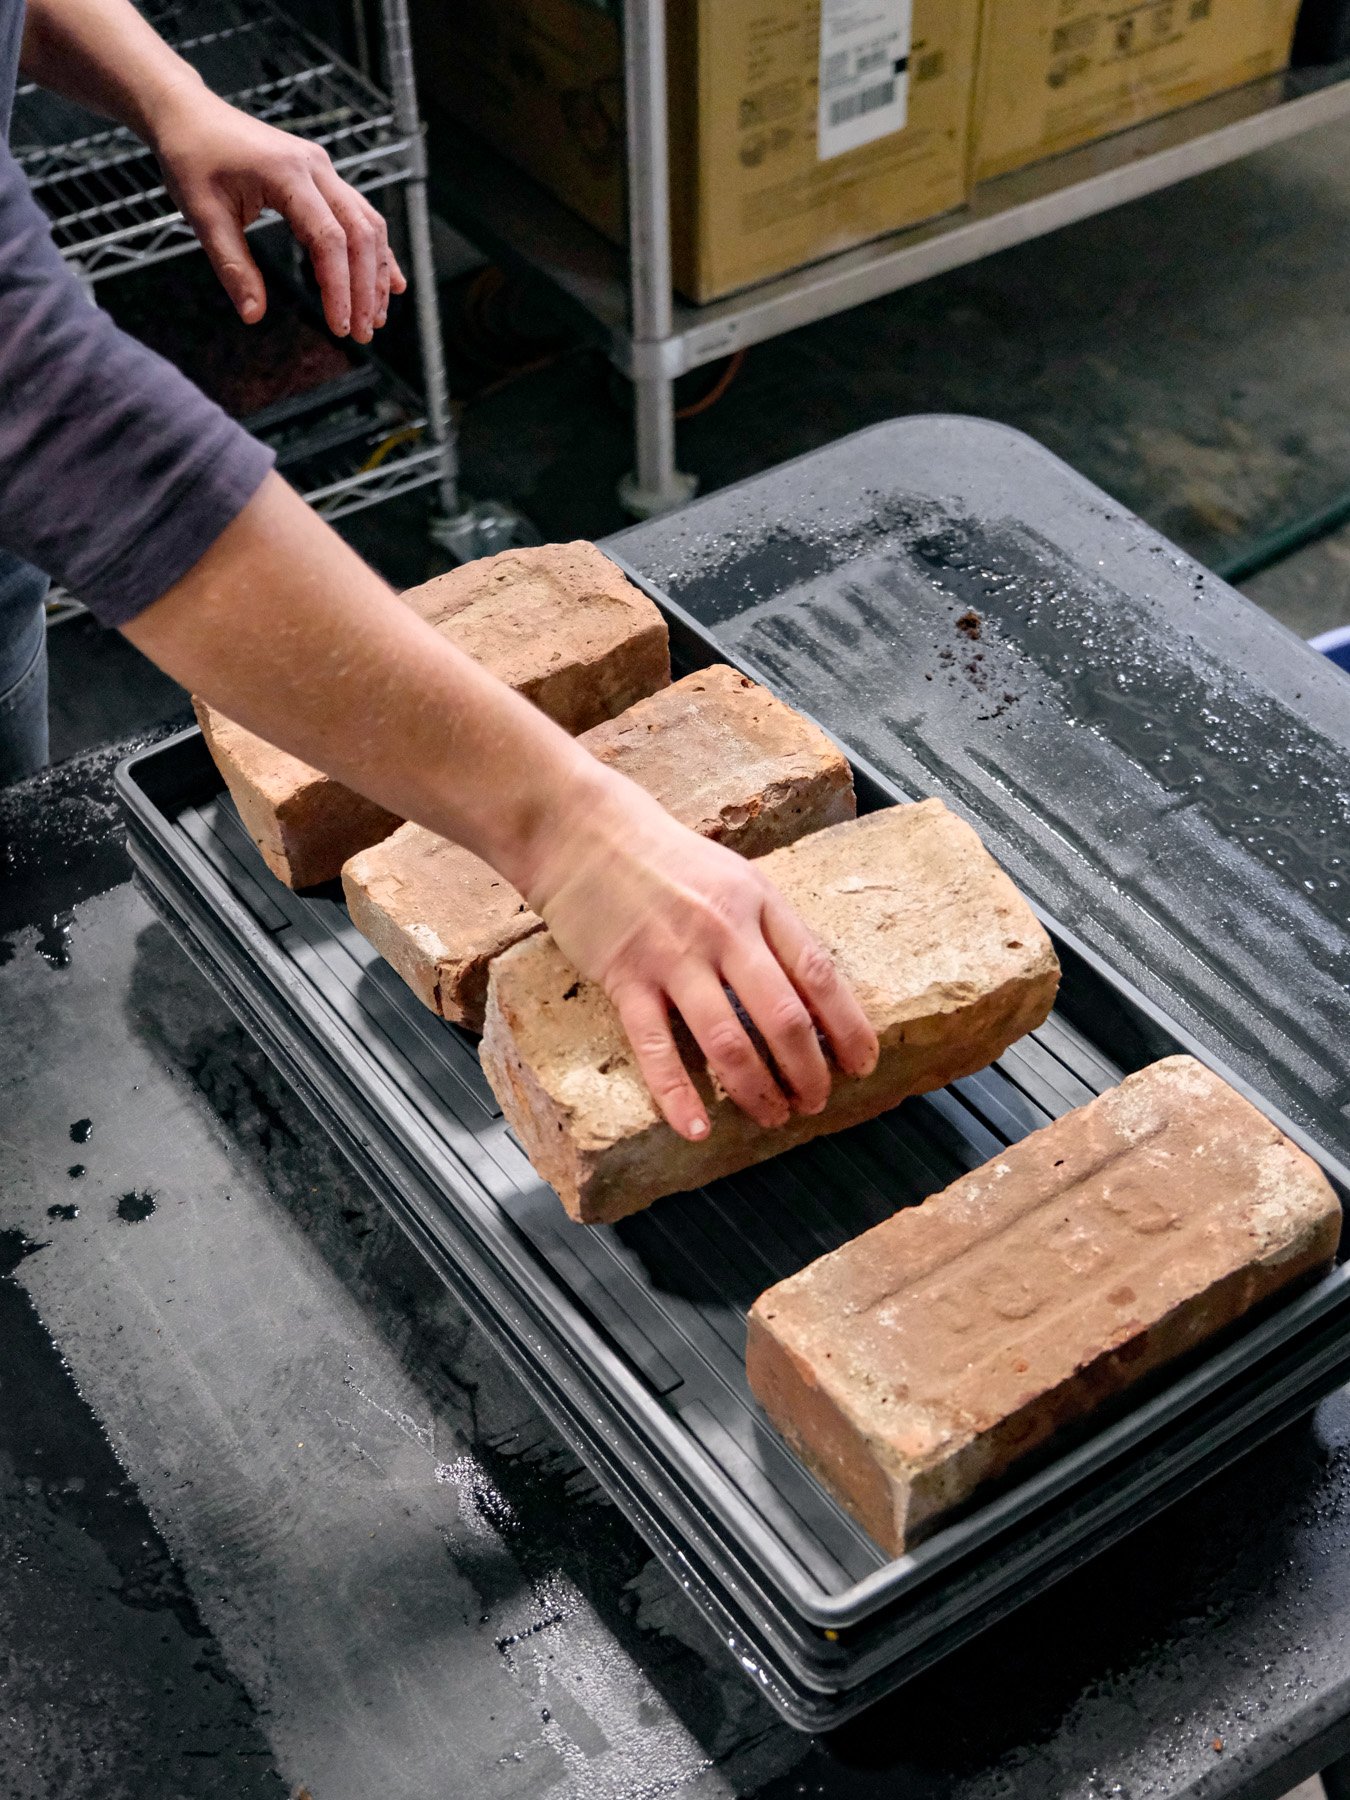
Bricks or weights


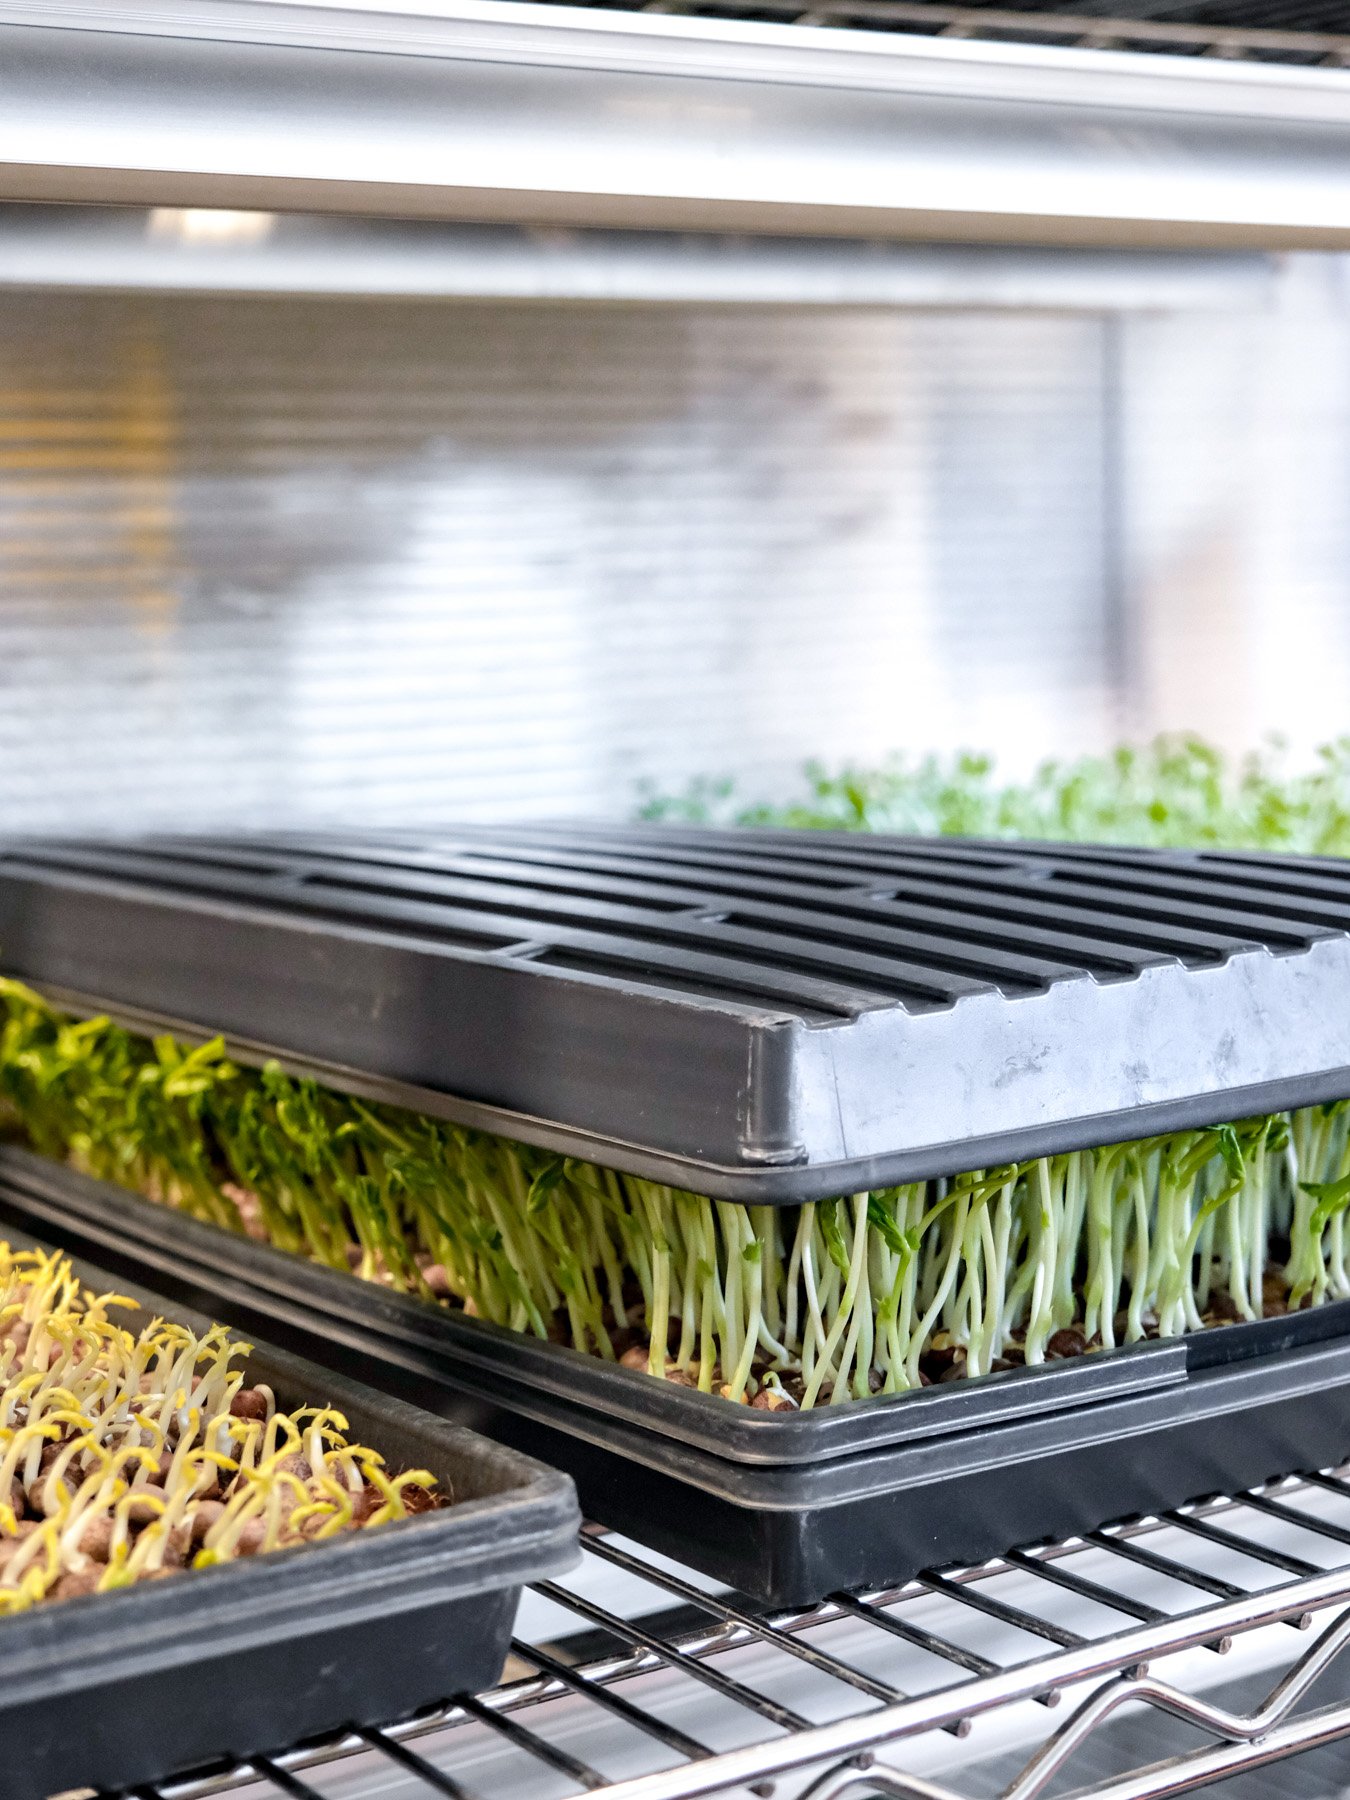
Basic Setup
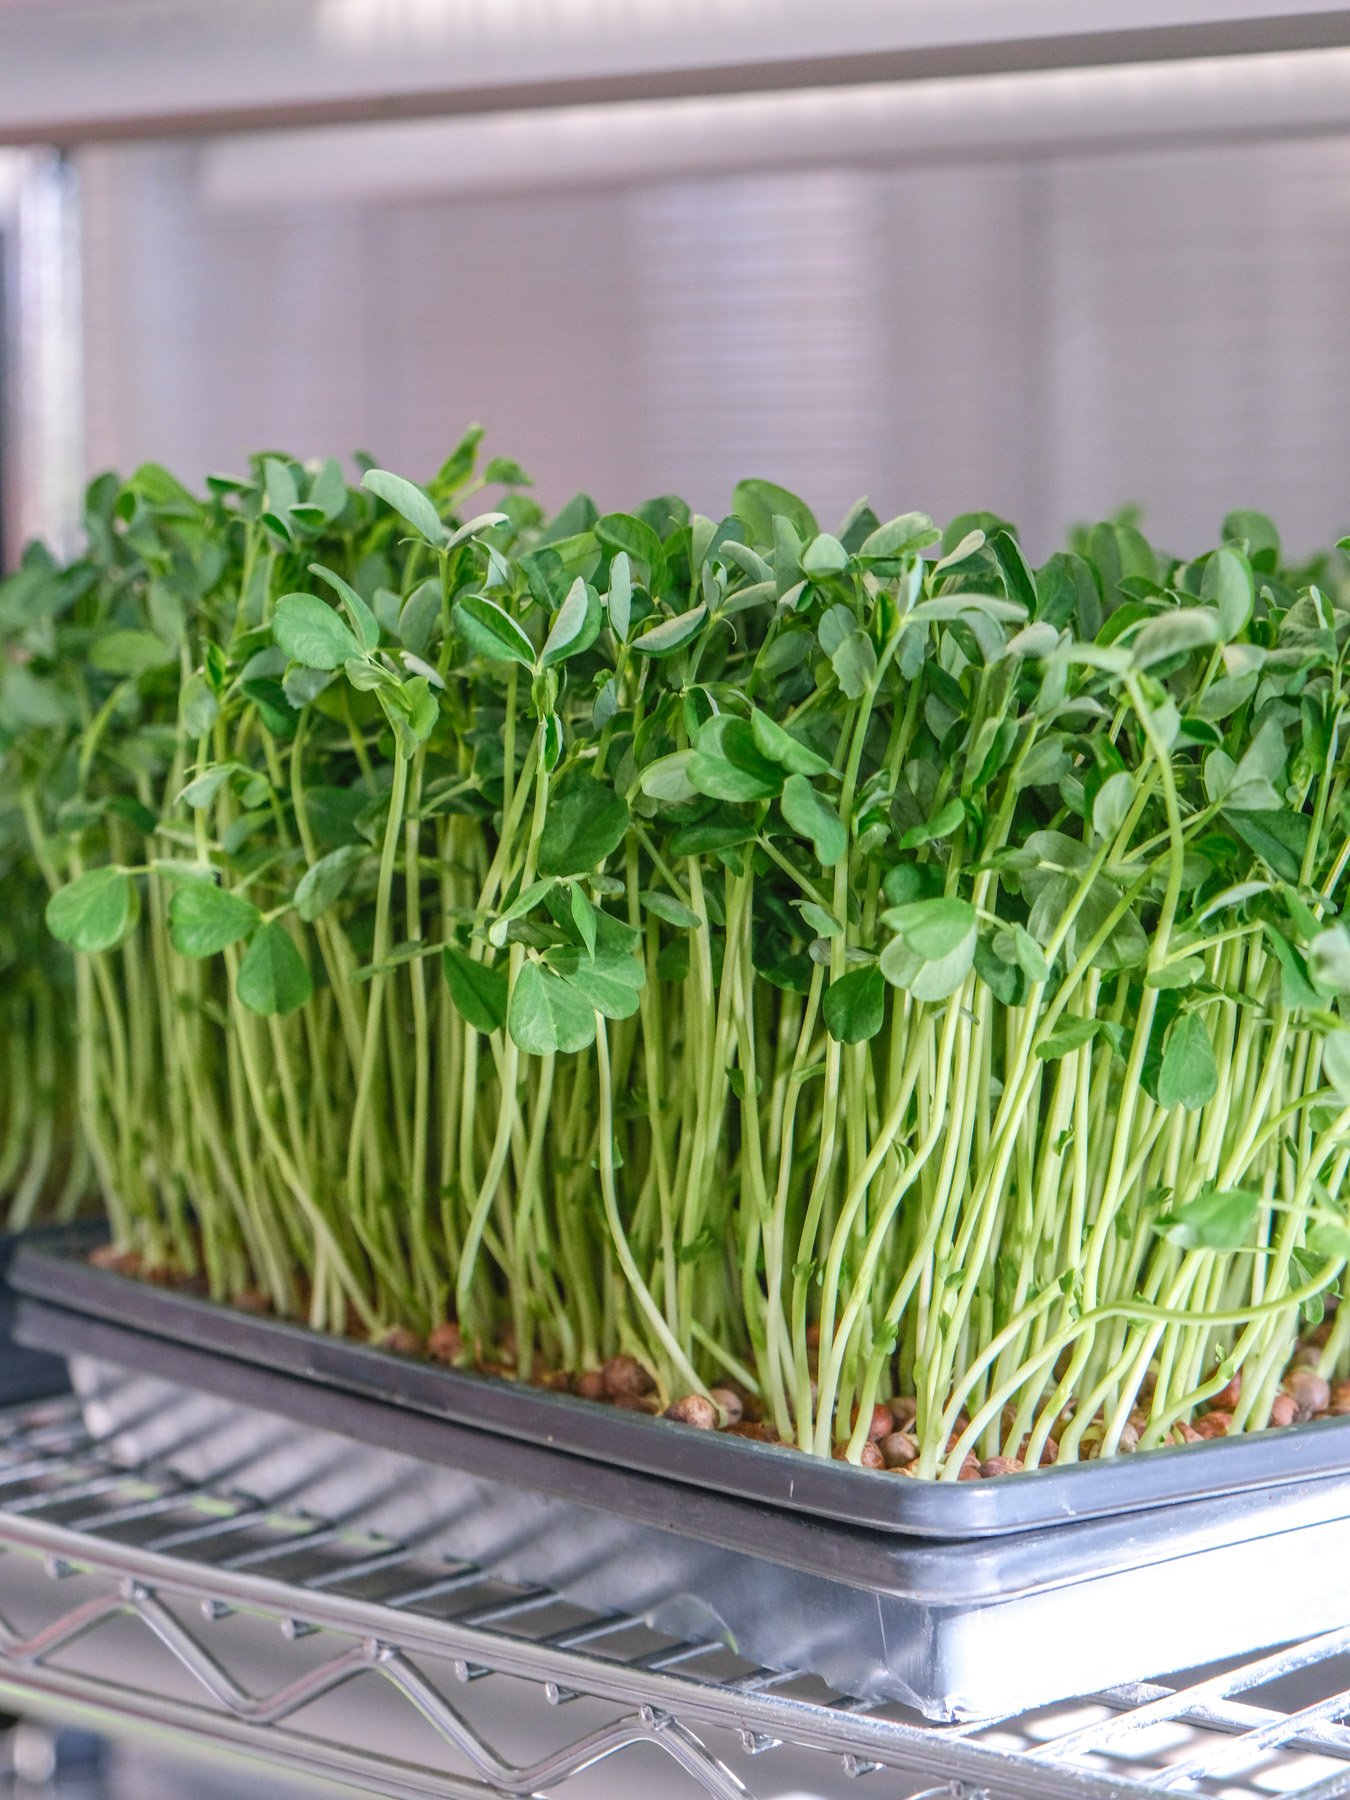
Our setup starts with a steel wire shelving rack on wheels which maximizes our growing space, is easy to move around, and can be sanitized as needed. Each shelf has 2 full-spectrum grow lights and a fan to provide ample light and good air circulation. Our lights are positioned about 10 inches above our trays leaving plenty of room for our shoots to grow. Fans are essential for any setup big or small and greatly reduce issues such as mold, fungal gnats, and uneven growth. We use zip ties to secure the lights and fans to the shelf and also to secure any loose wires and extension cords.
Process OVERVIEW
Variety: Field Pea Shoot
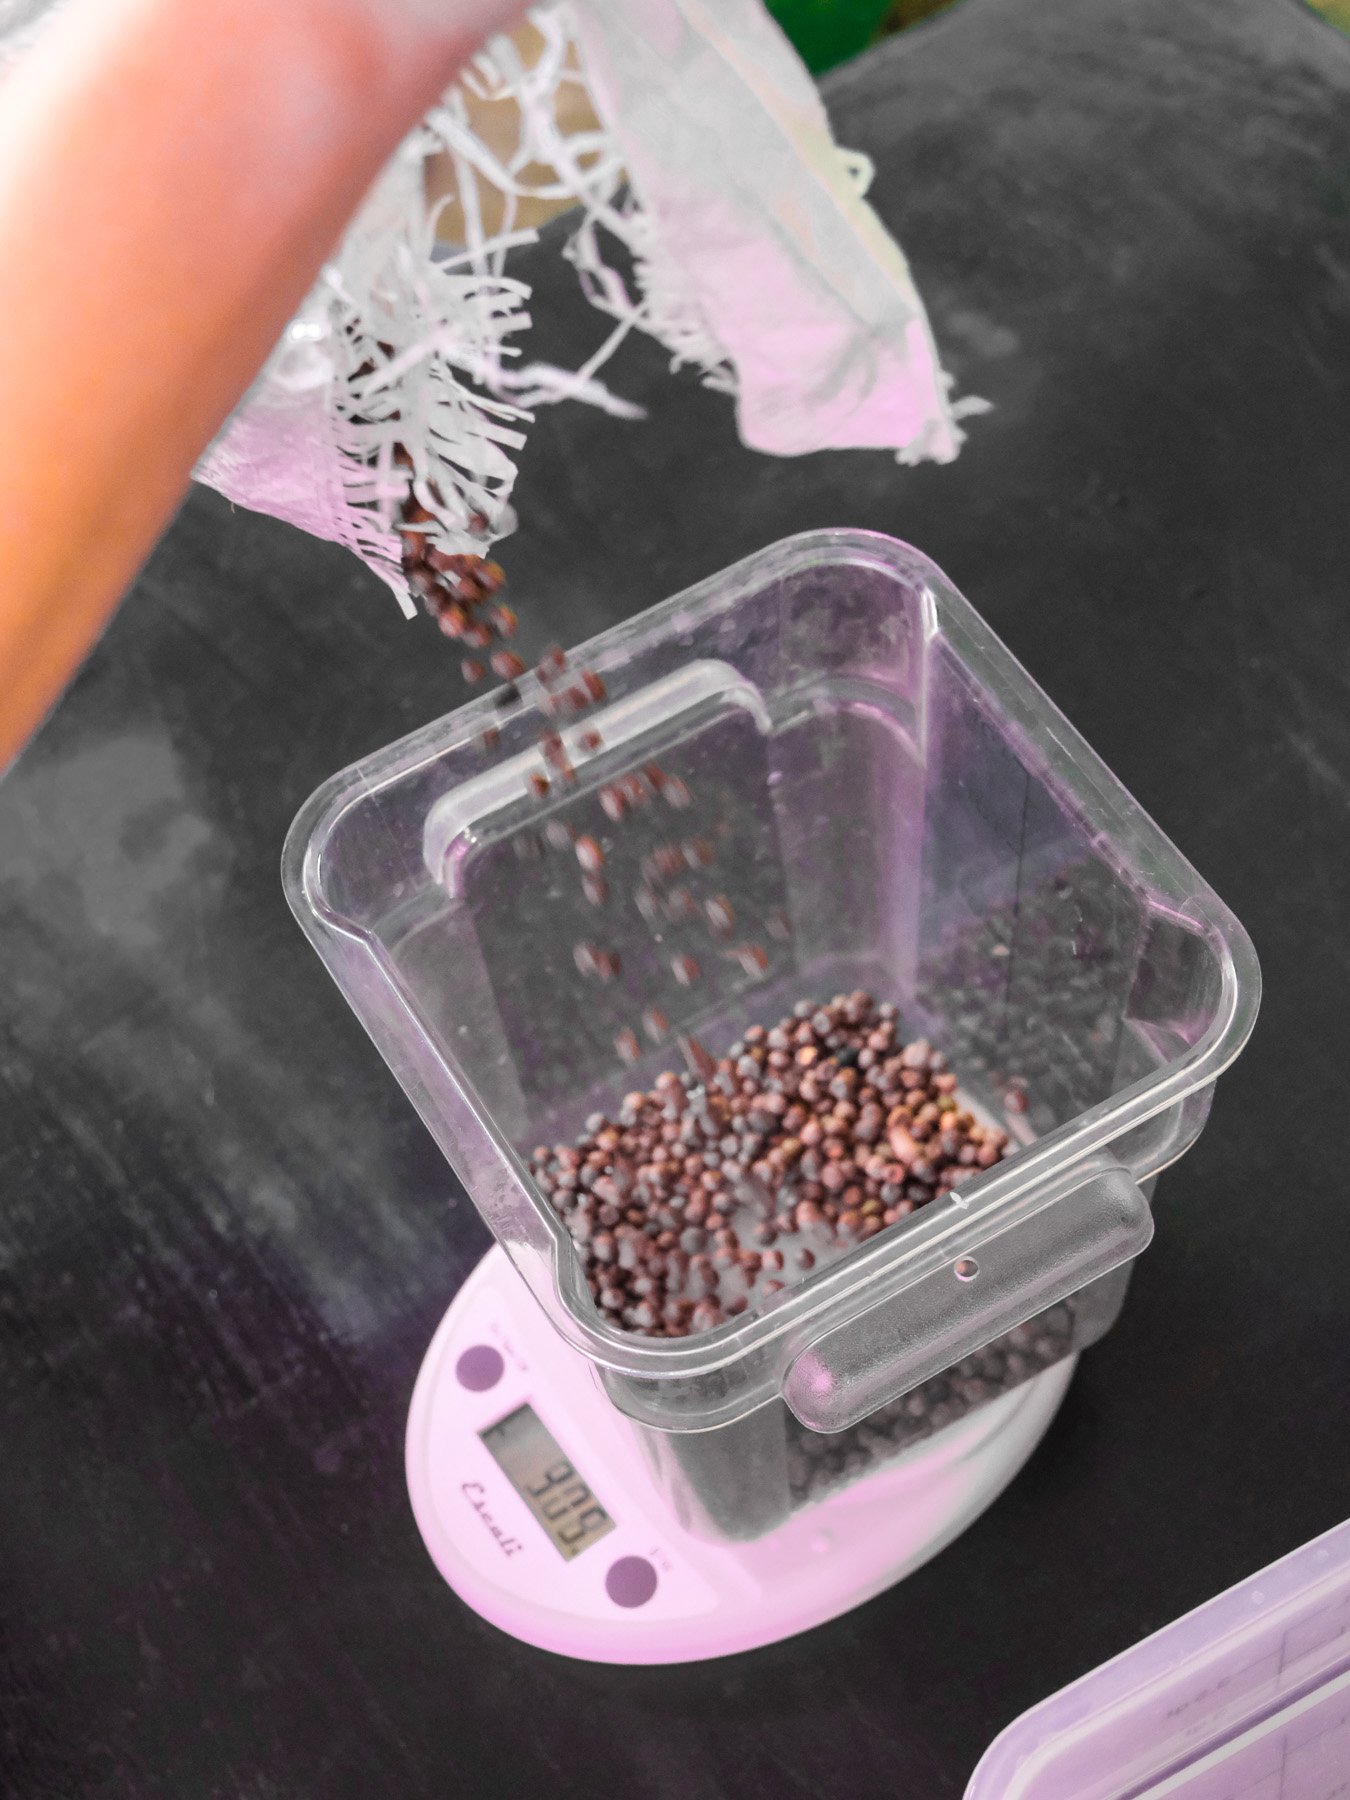
Seeding rate per tray: 10 oz dry seed
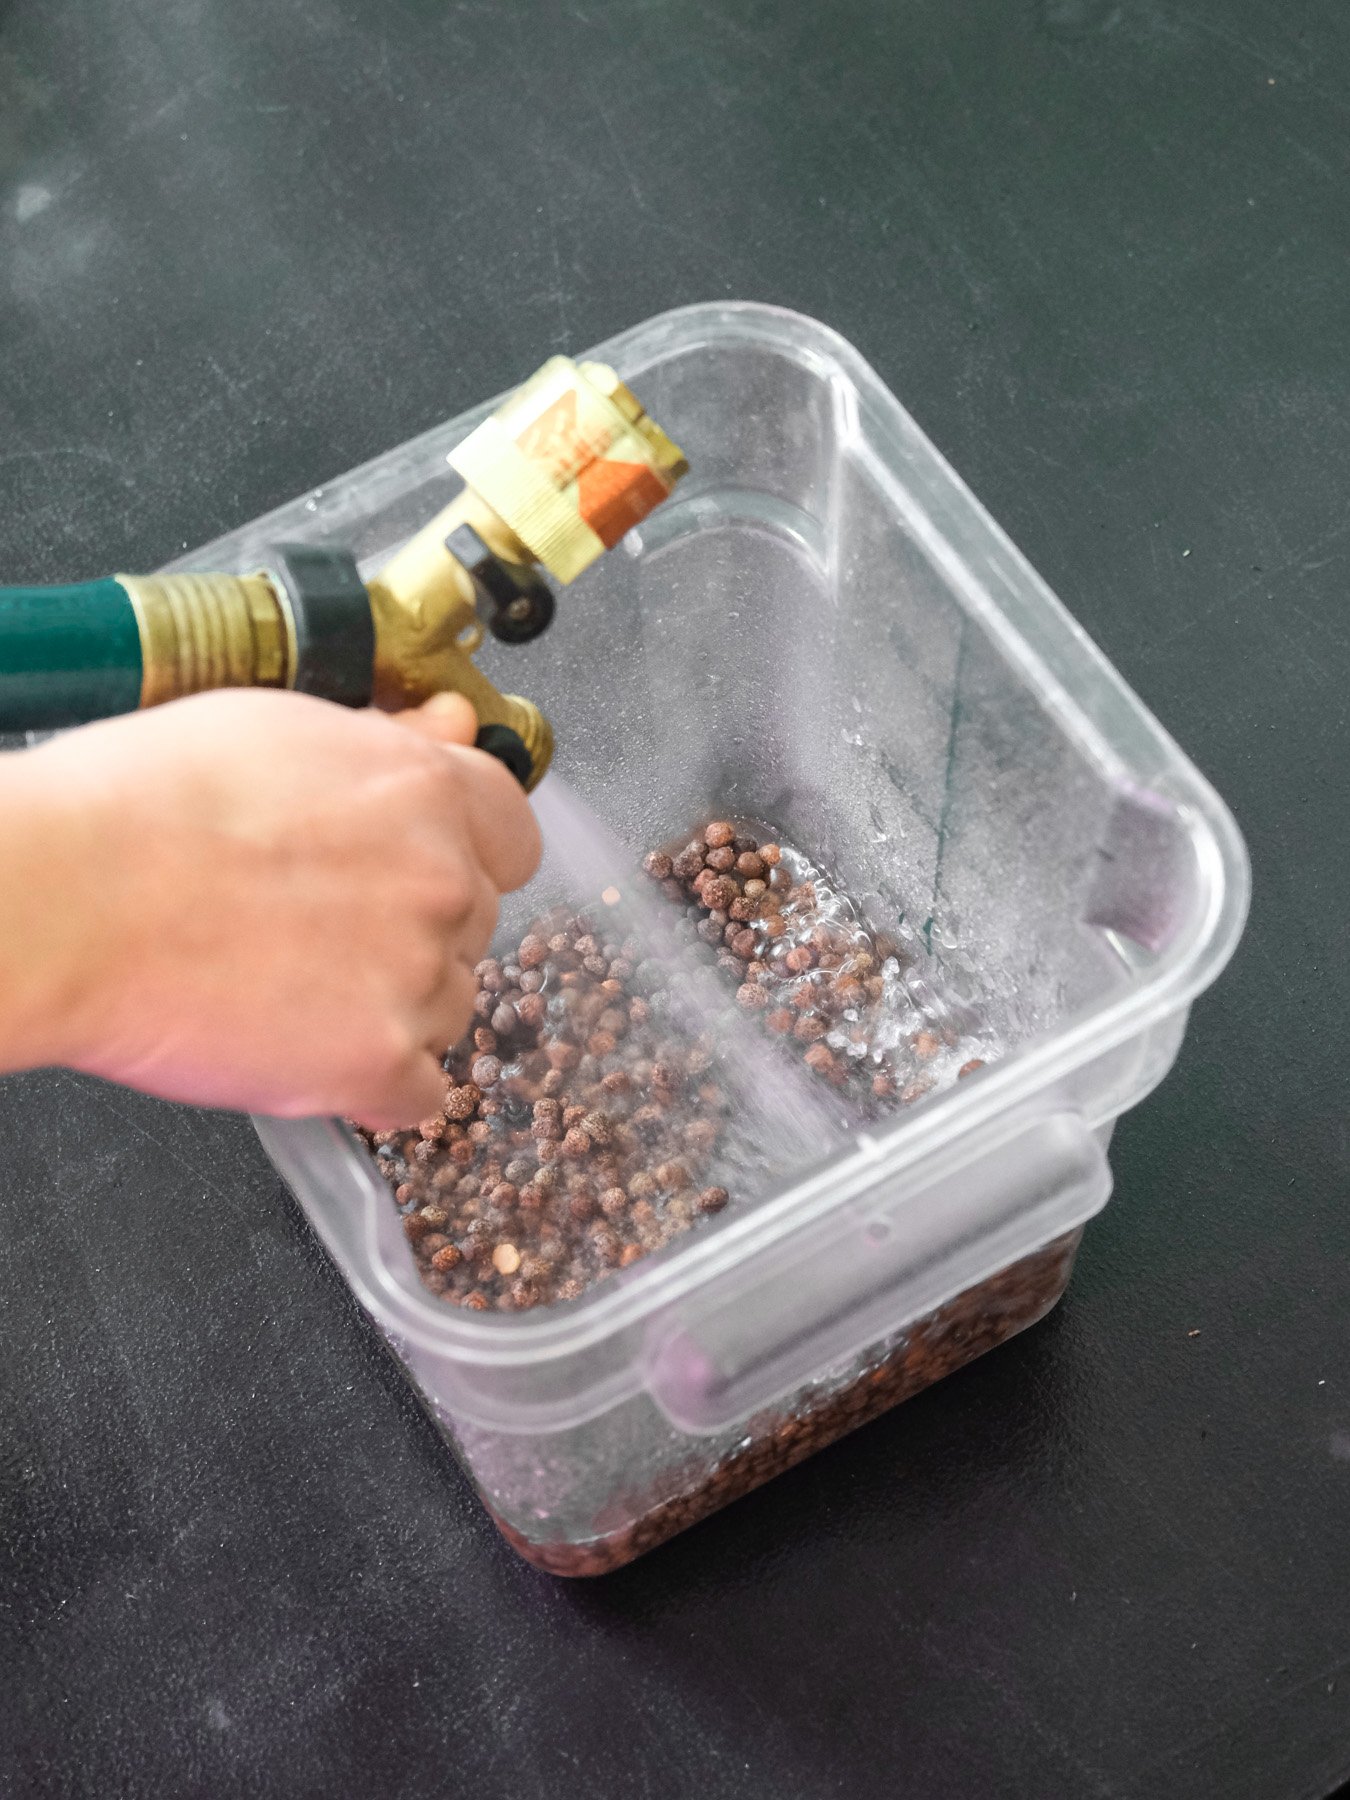
Soak Seed: 12–24 hours
Germination: 1–2 days
Blackout: 1–2 days
Days to maturity: 9–10 days
Harvest height: 4–6 inches
Total yield per tray: 1.5–2 lbs
step-by-step Seeding instructions
Weigh pea shoot seeds—10 oz. seeds per tray.
Soak weighed seeds in water for 12–24 hours. Keep seeds fully submerged by weighing down.
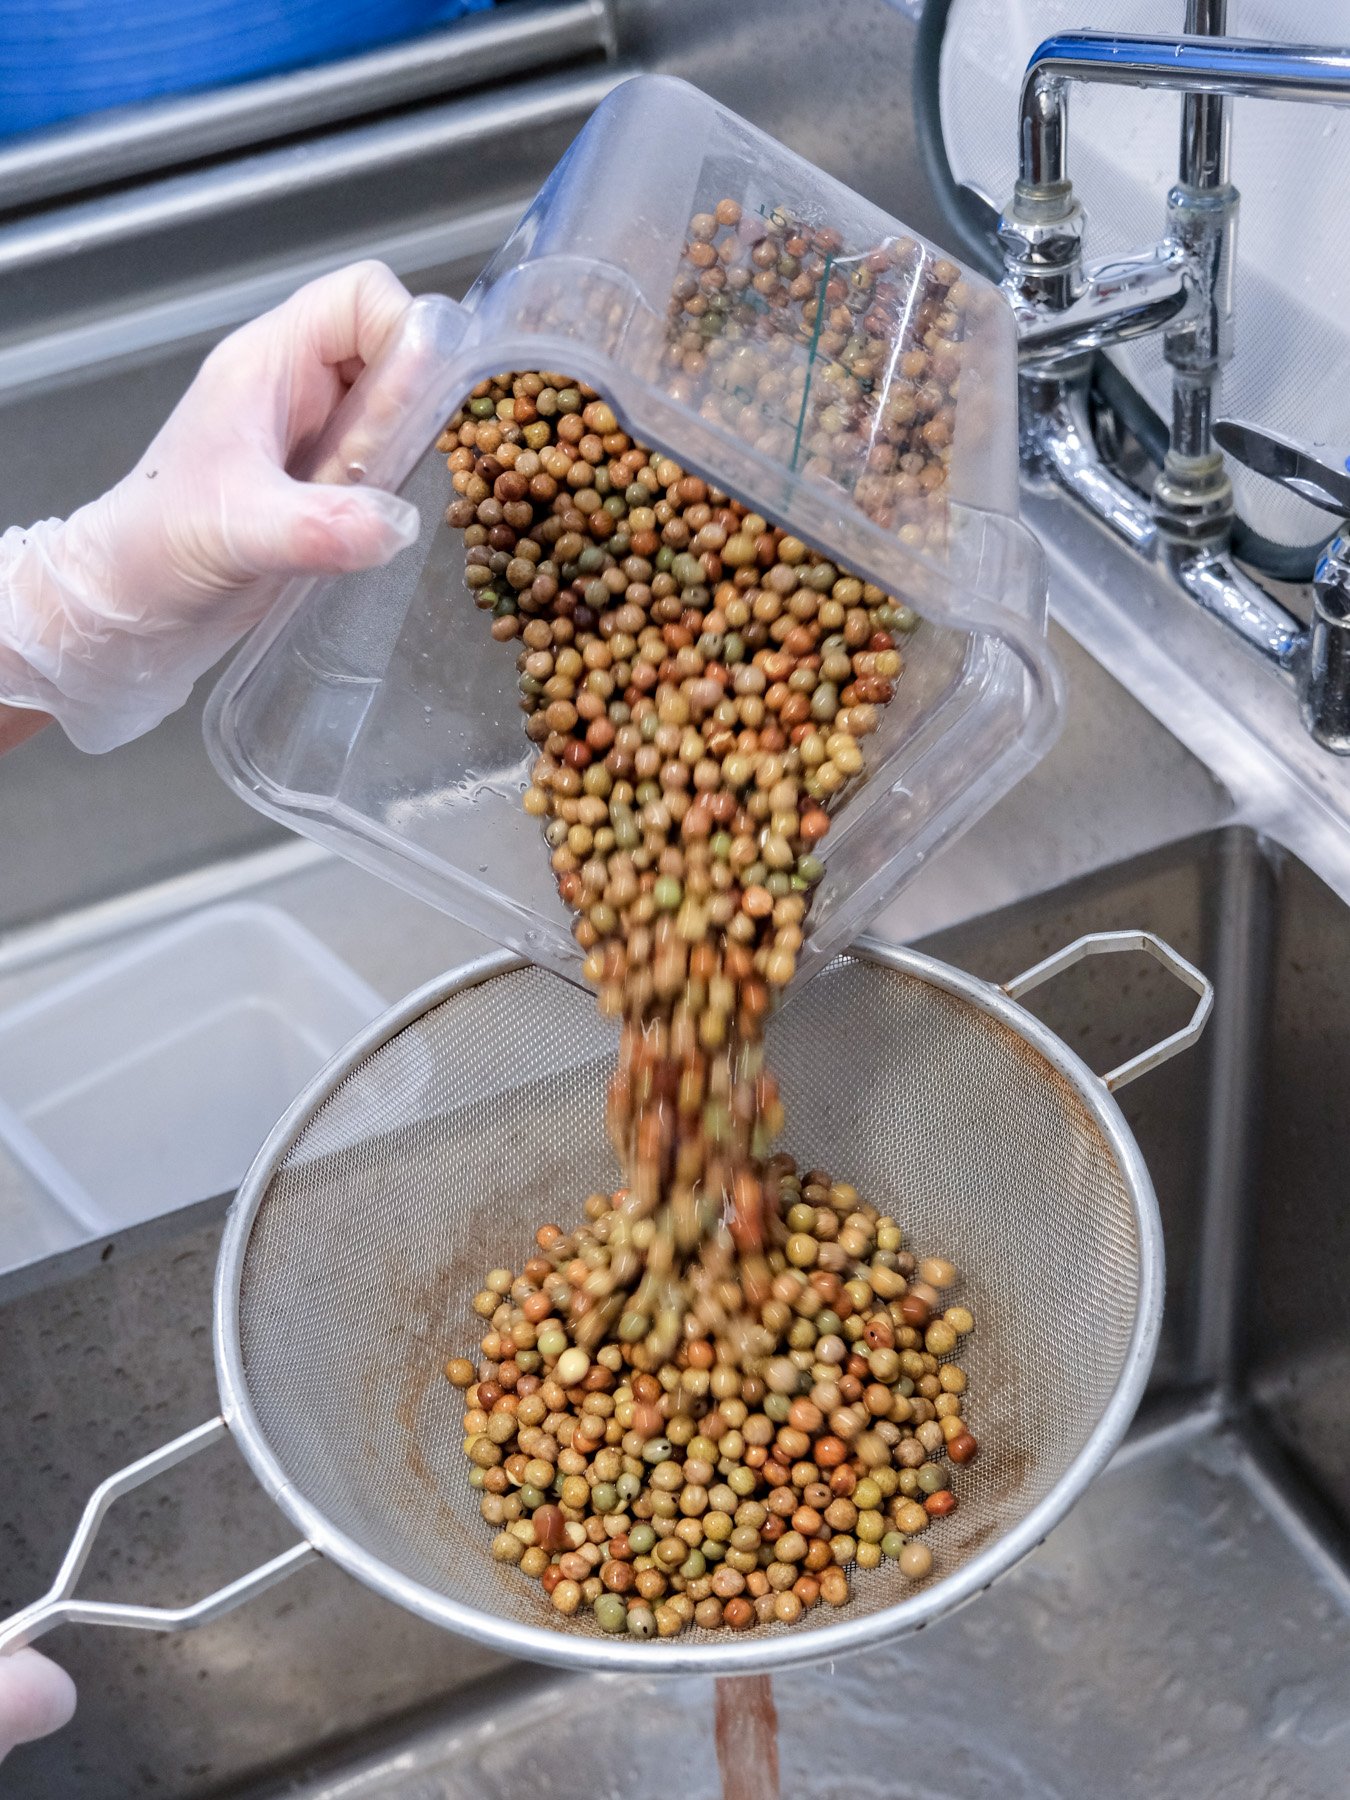
After 12–24 hours, drain and rinse pea seeds—rinse thoroughly and discard used water.
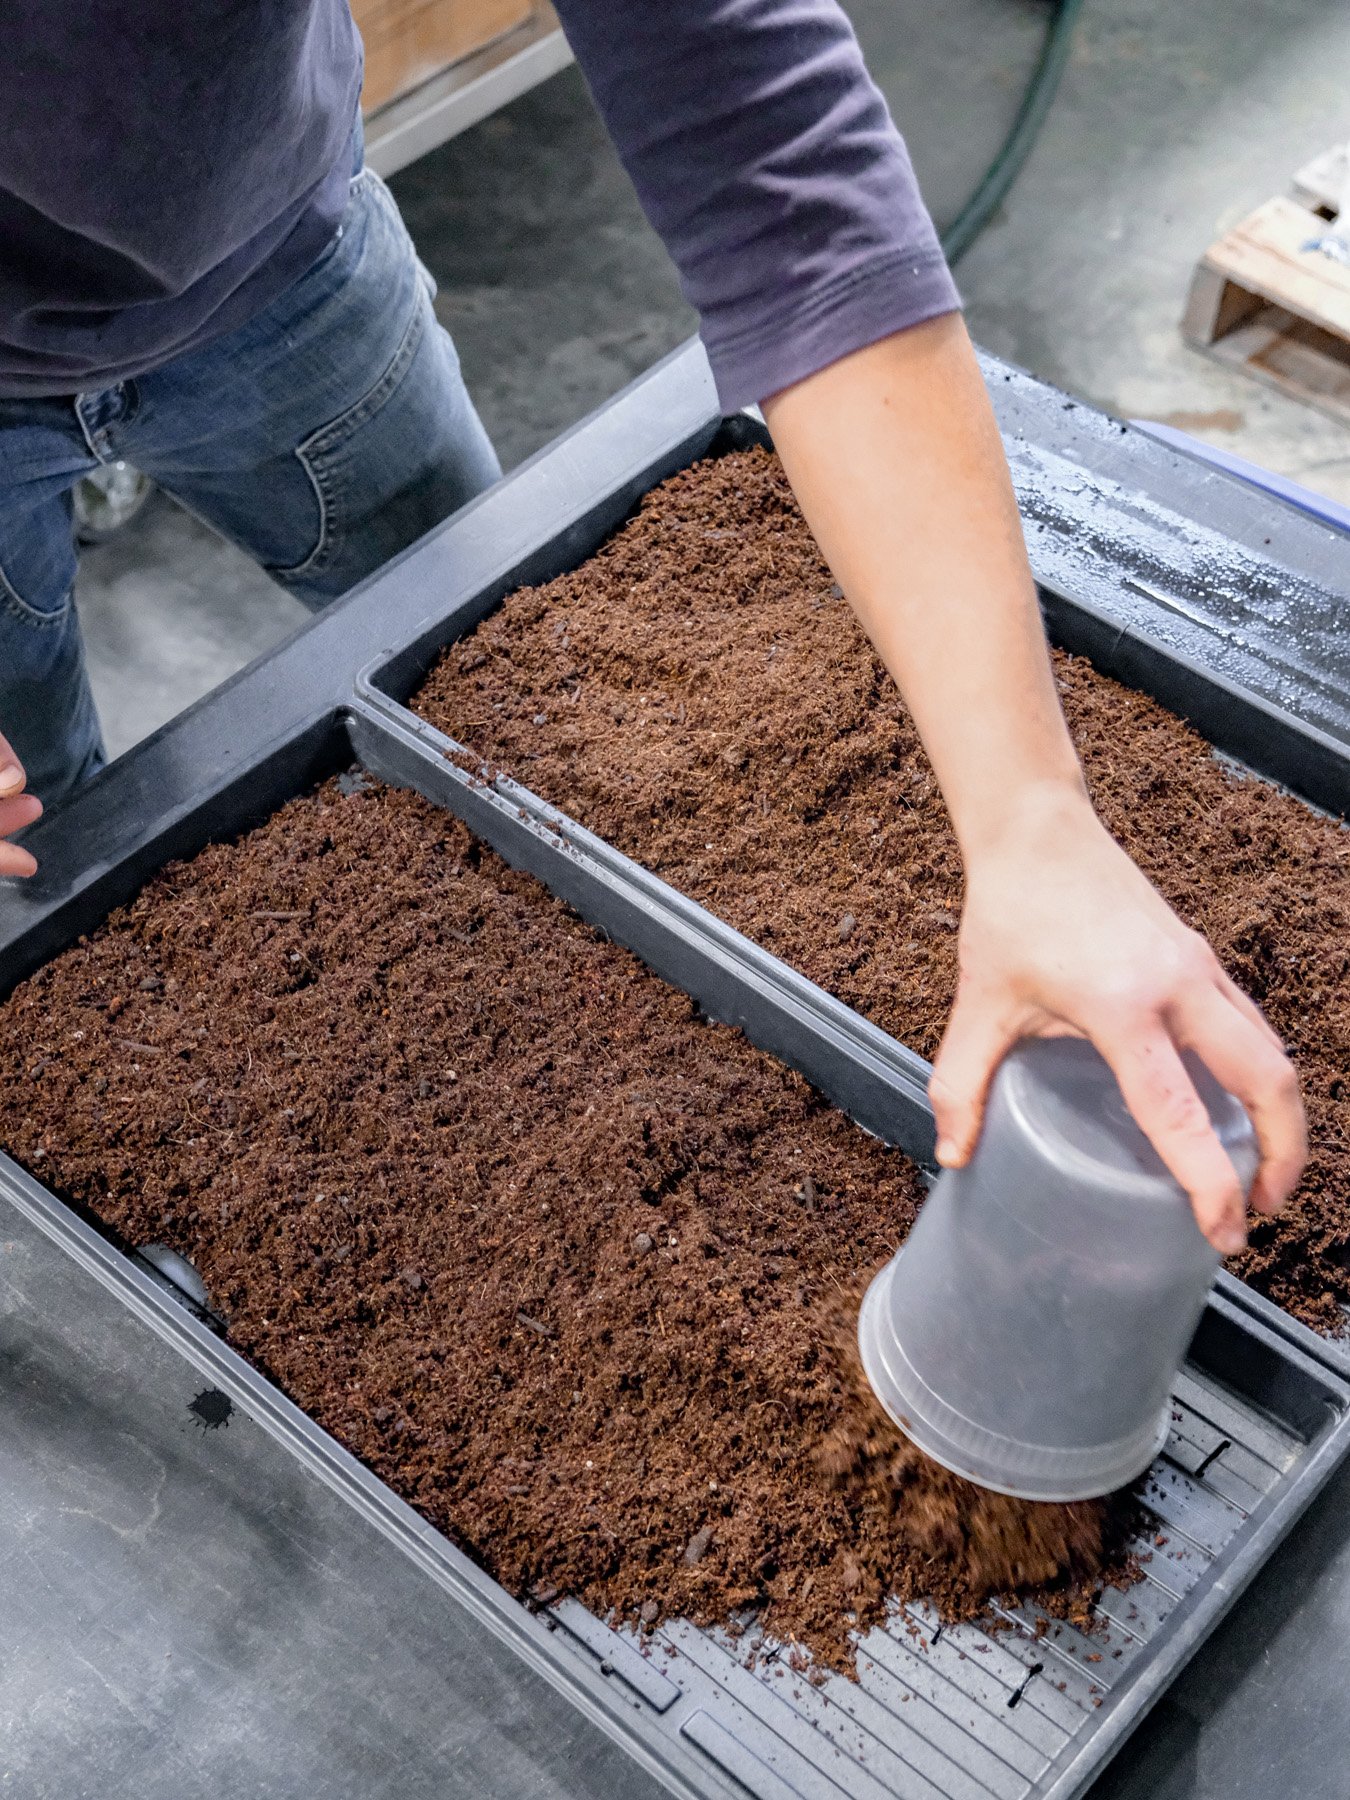
Prepare trays by placing a tray with holes over a tray with no holes.
Fill the tray with holes with 3 Qts of potting mix and spread evenly.
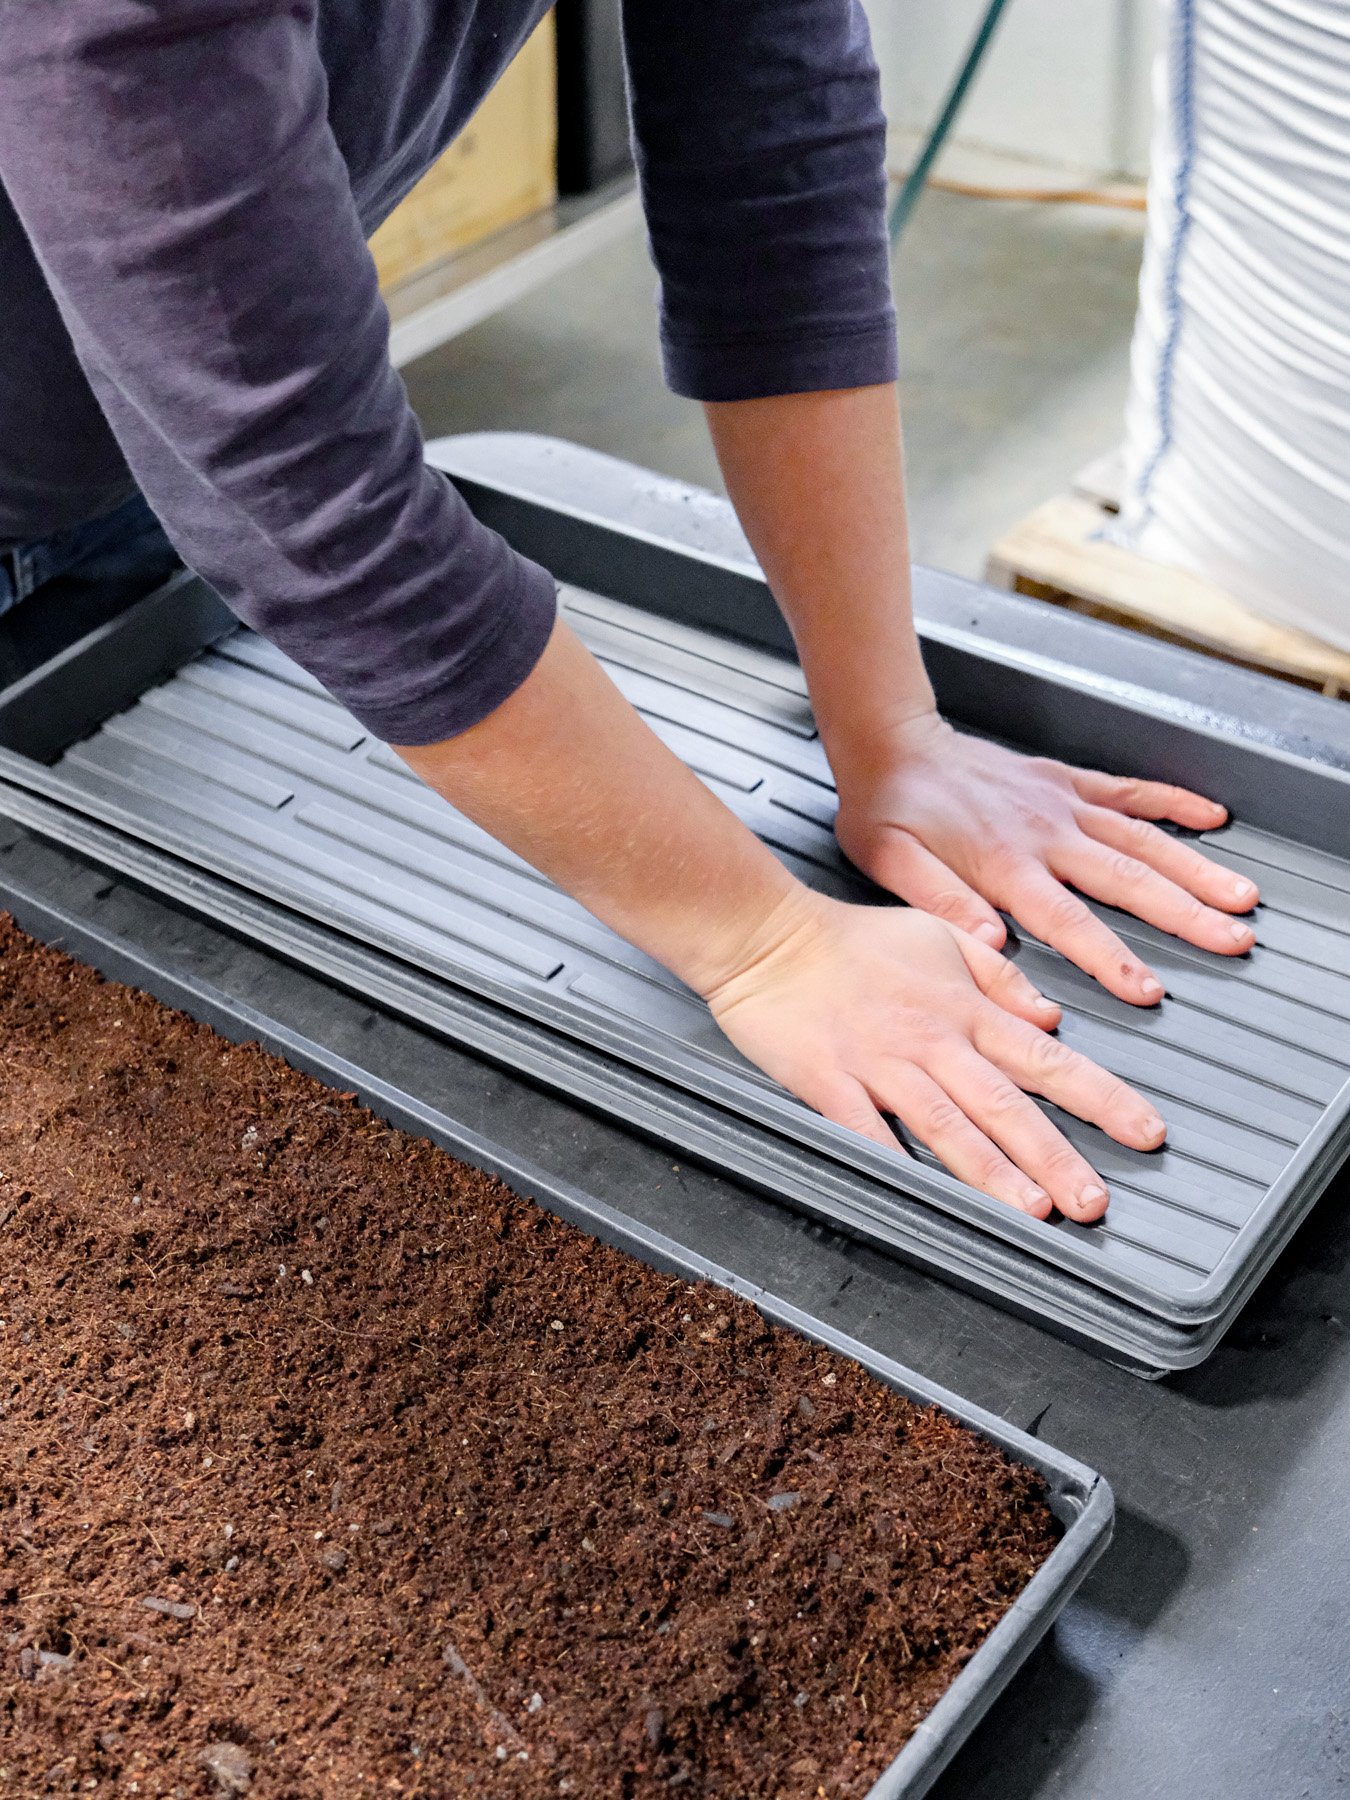
Place another tray with no holes above the soil and press firmly to compress the soil, then set aside the top tray.
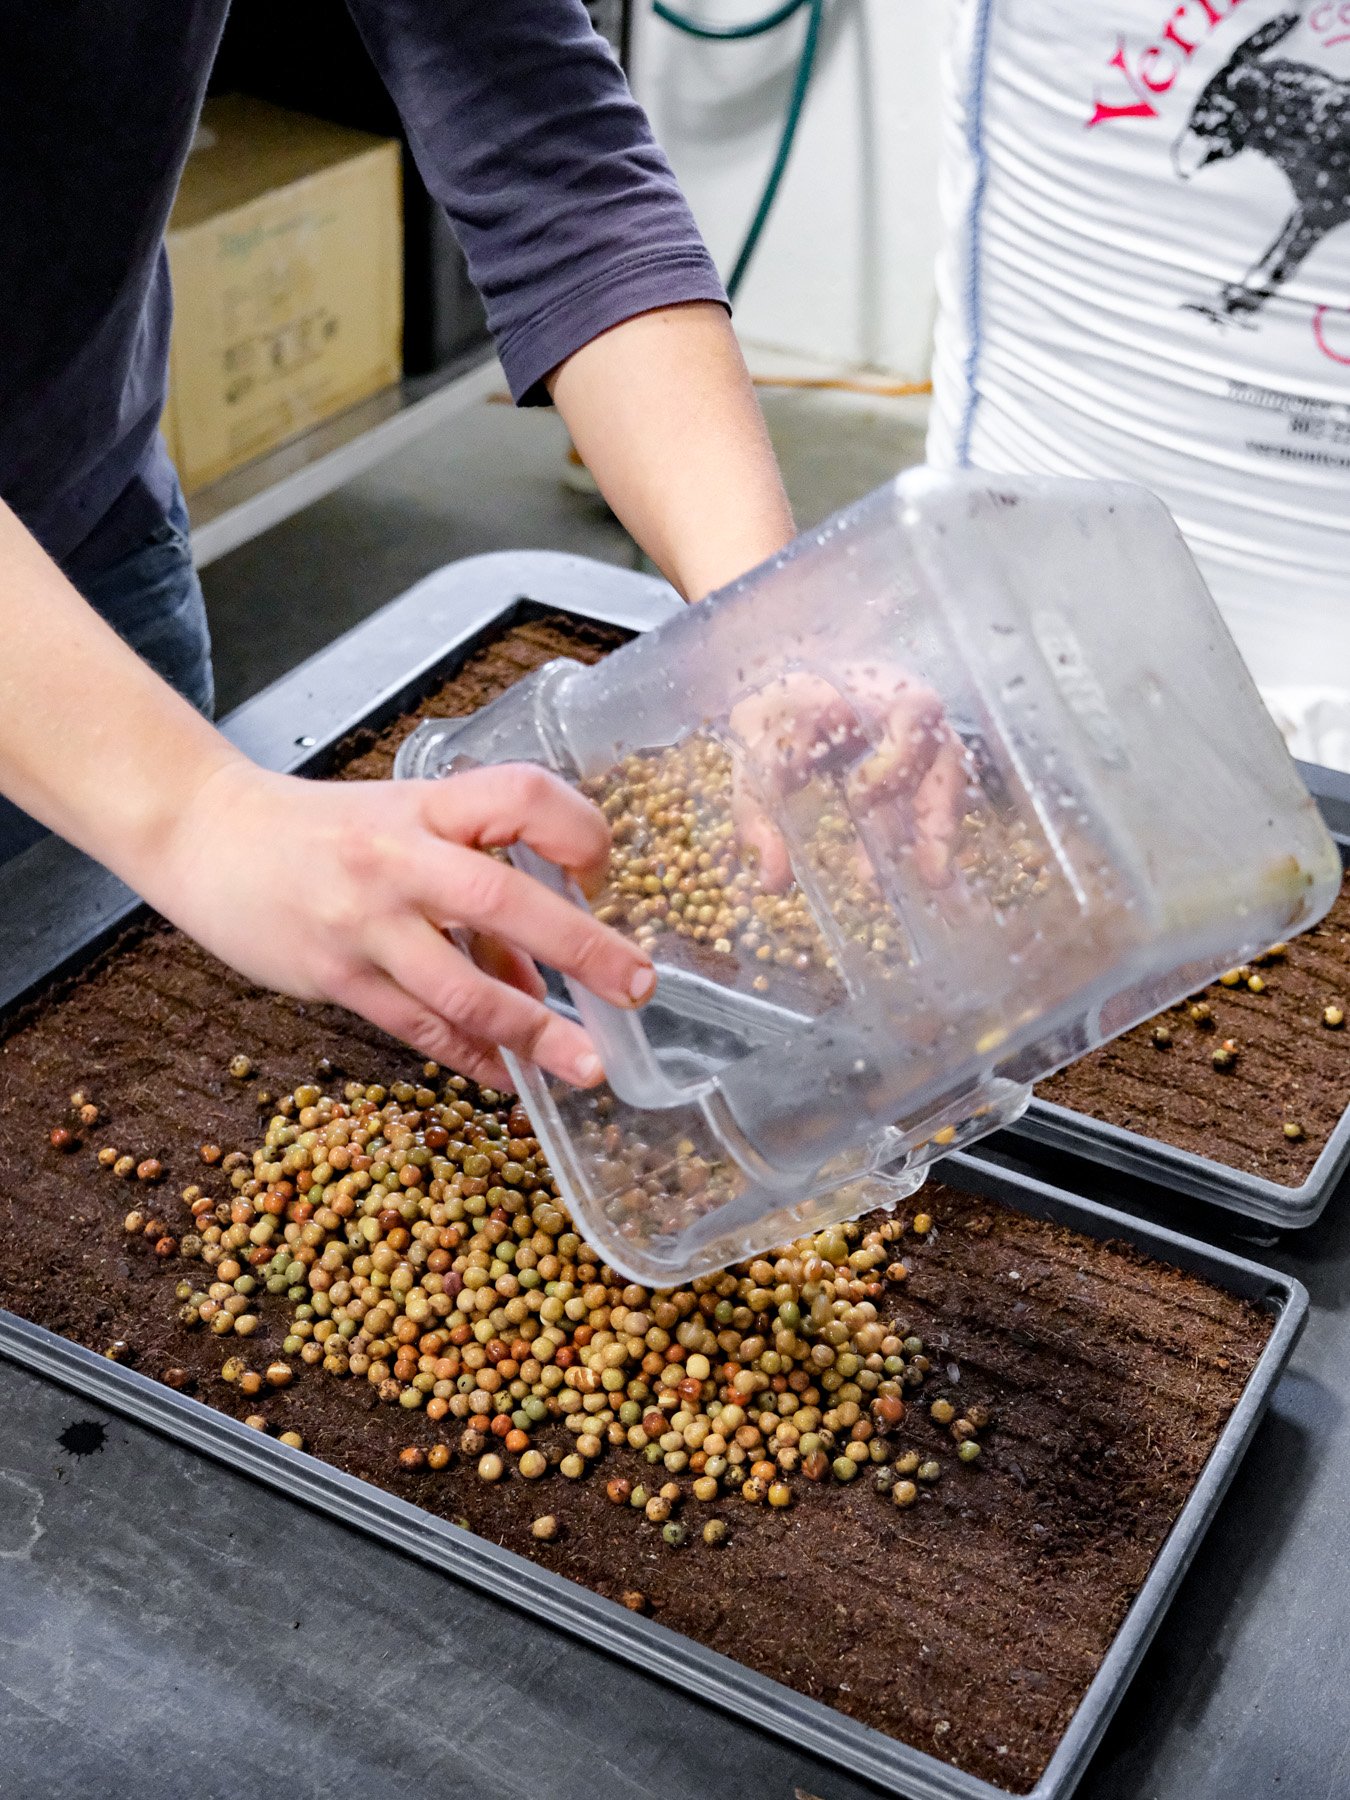
Spread the pre-soaked seeds evenly over the soil.
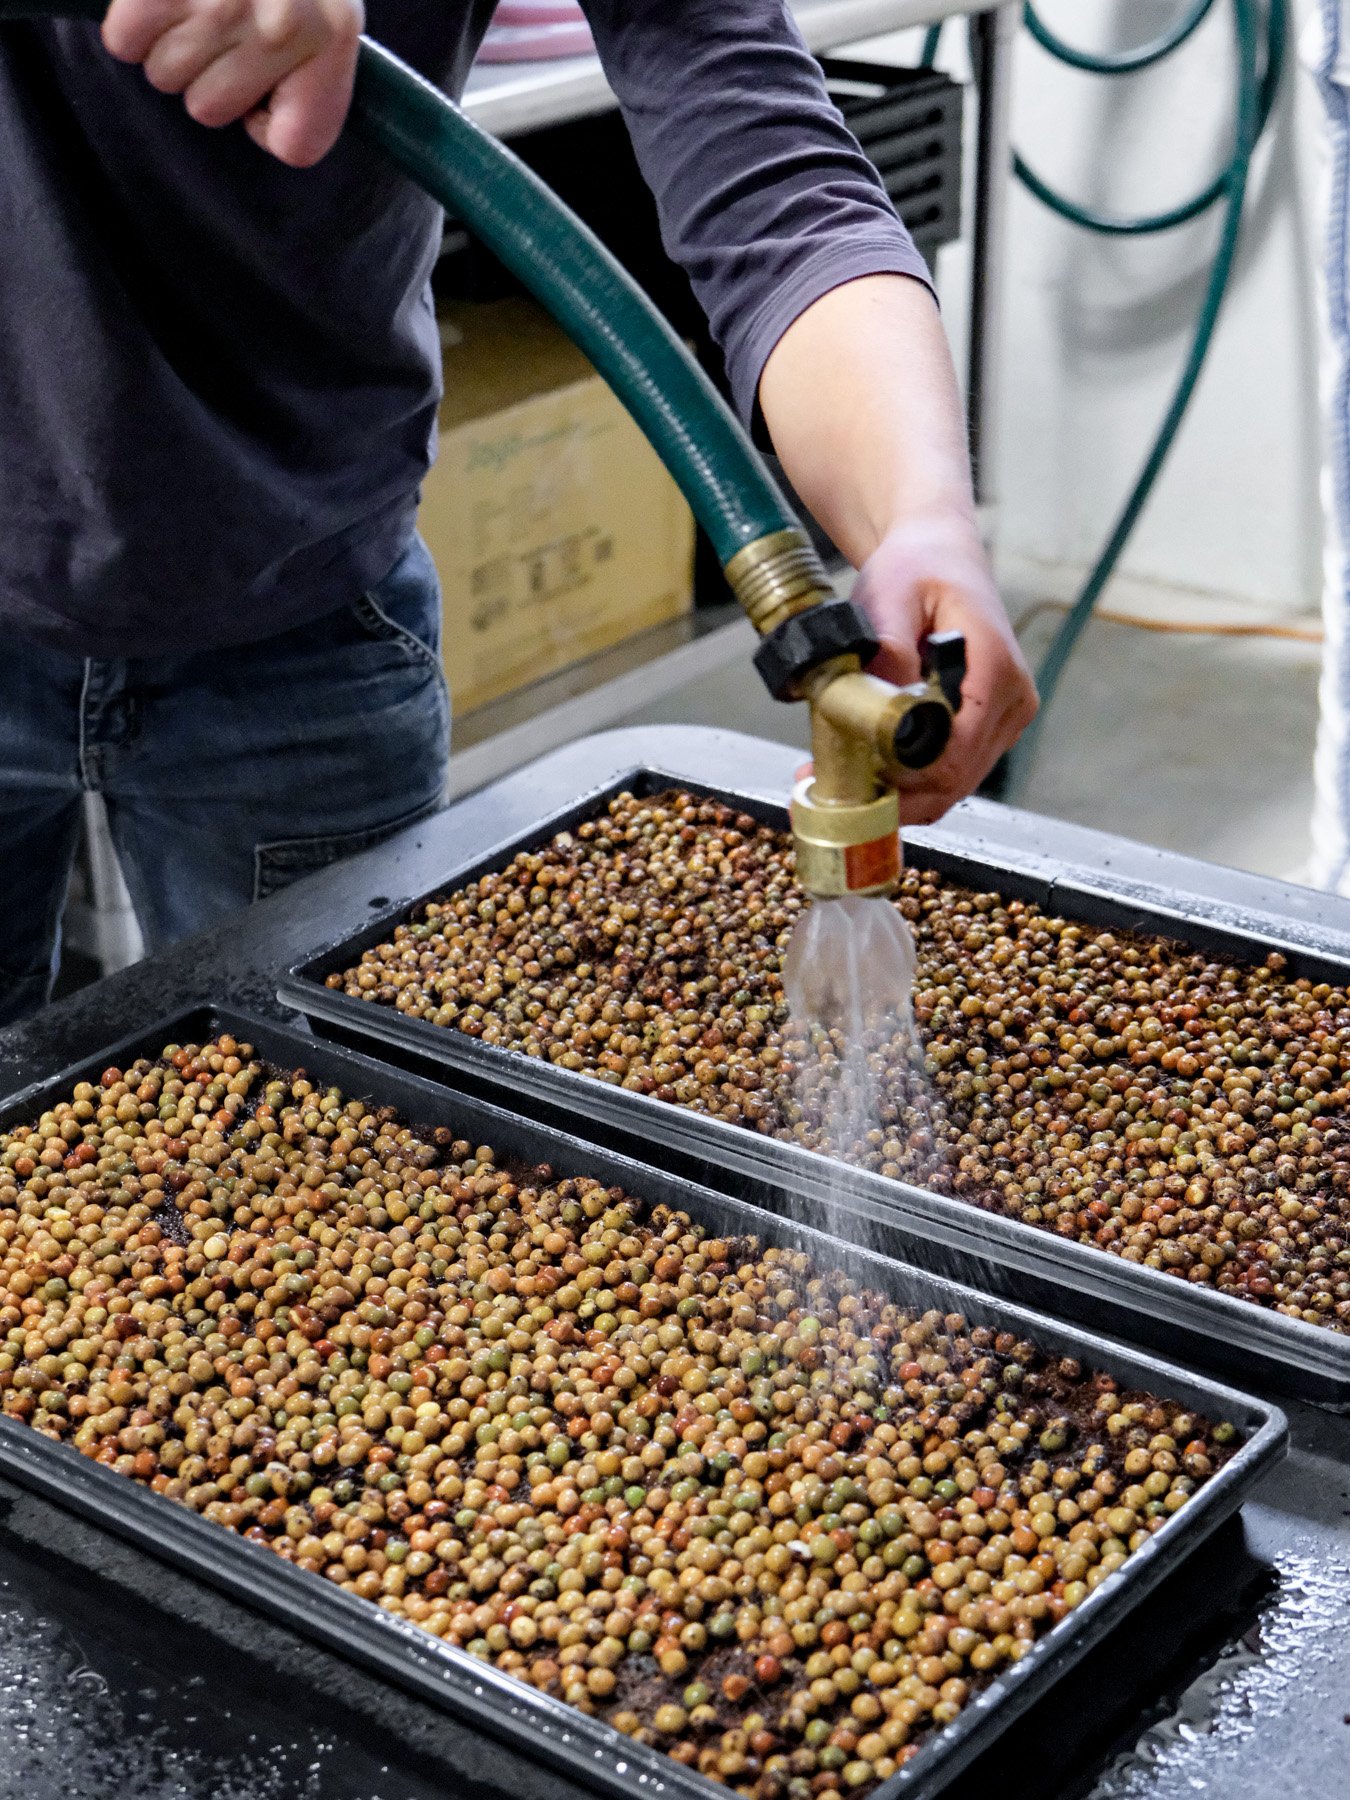
Lightly water seeds and place the tray with no holes on top of the seeded tray.
Weigh down the top tray with bricks or other heavy, flat objects to ensure seeds make good and even contact with the soil.
Daily Task List
Day 1
Soak seeds overnight
Day 2
Rinse soaked peas and seed tray
Seed
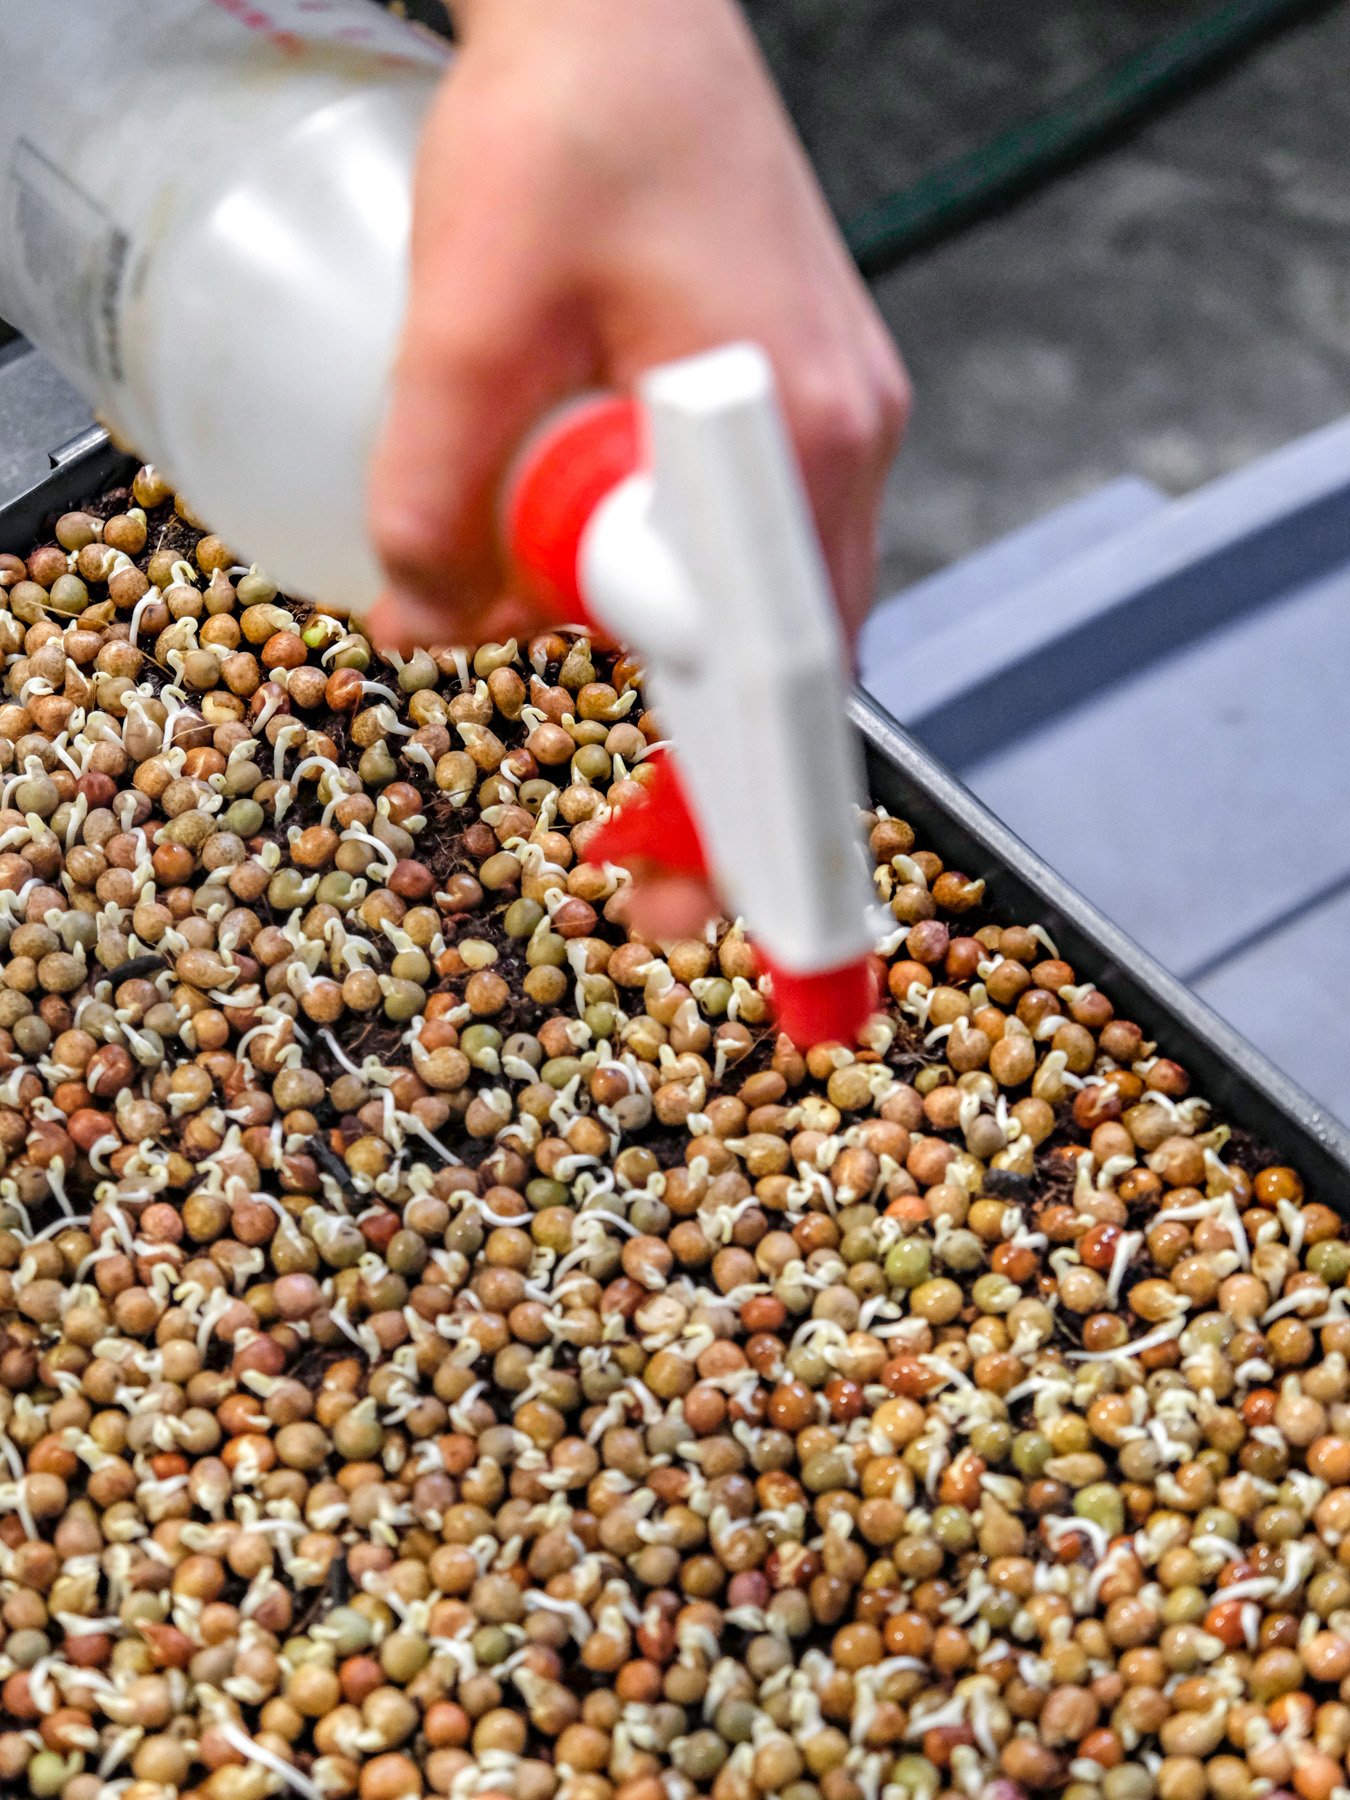
Lightly mist AM + PM
Keep weighted
Day 3
Lightly mist AM + PM
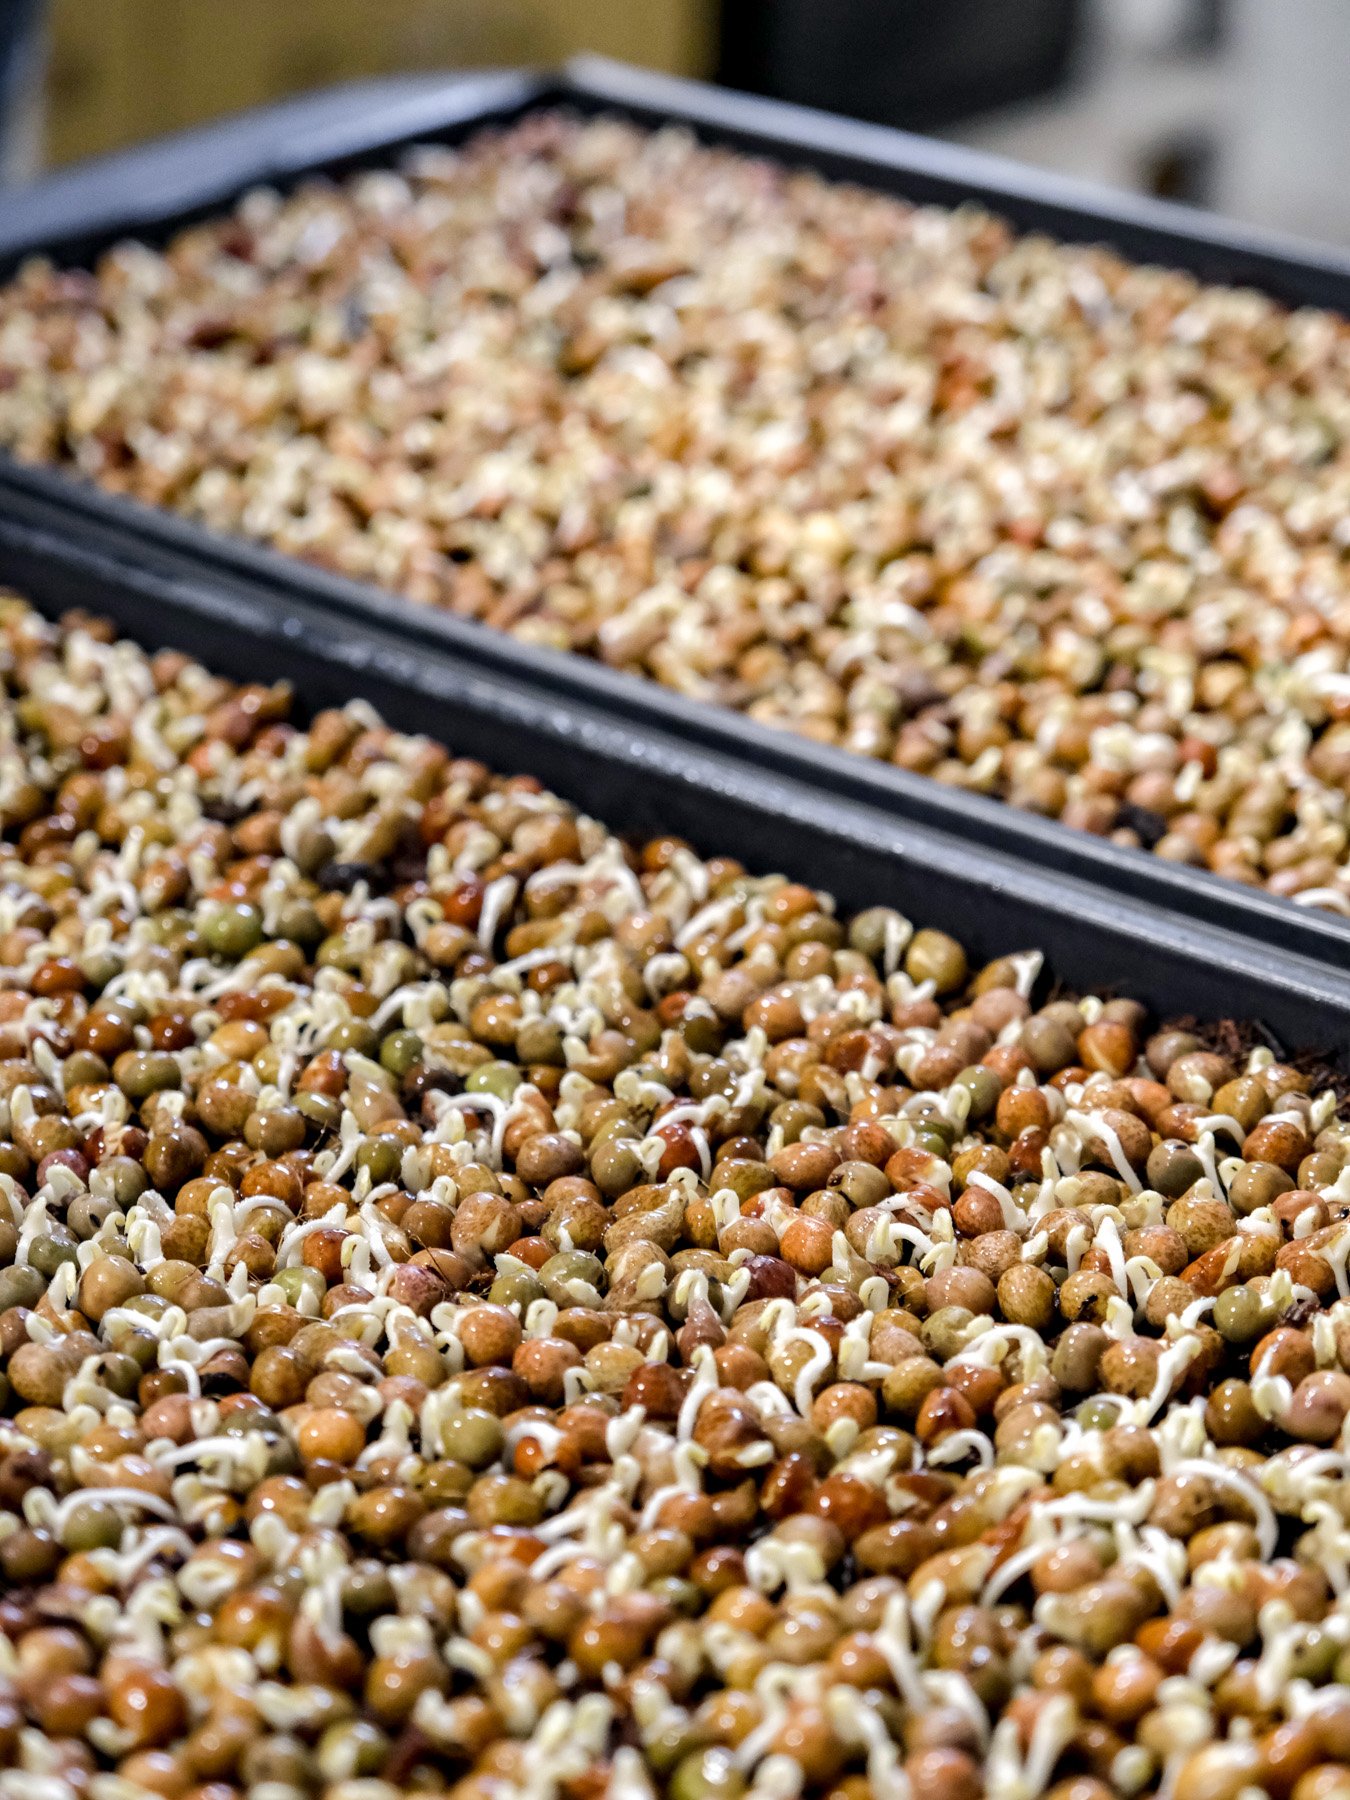
Roots will start to develop at this point
Day 4
Lightly Mist AM + PM
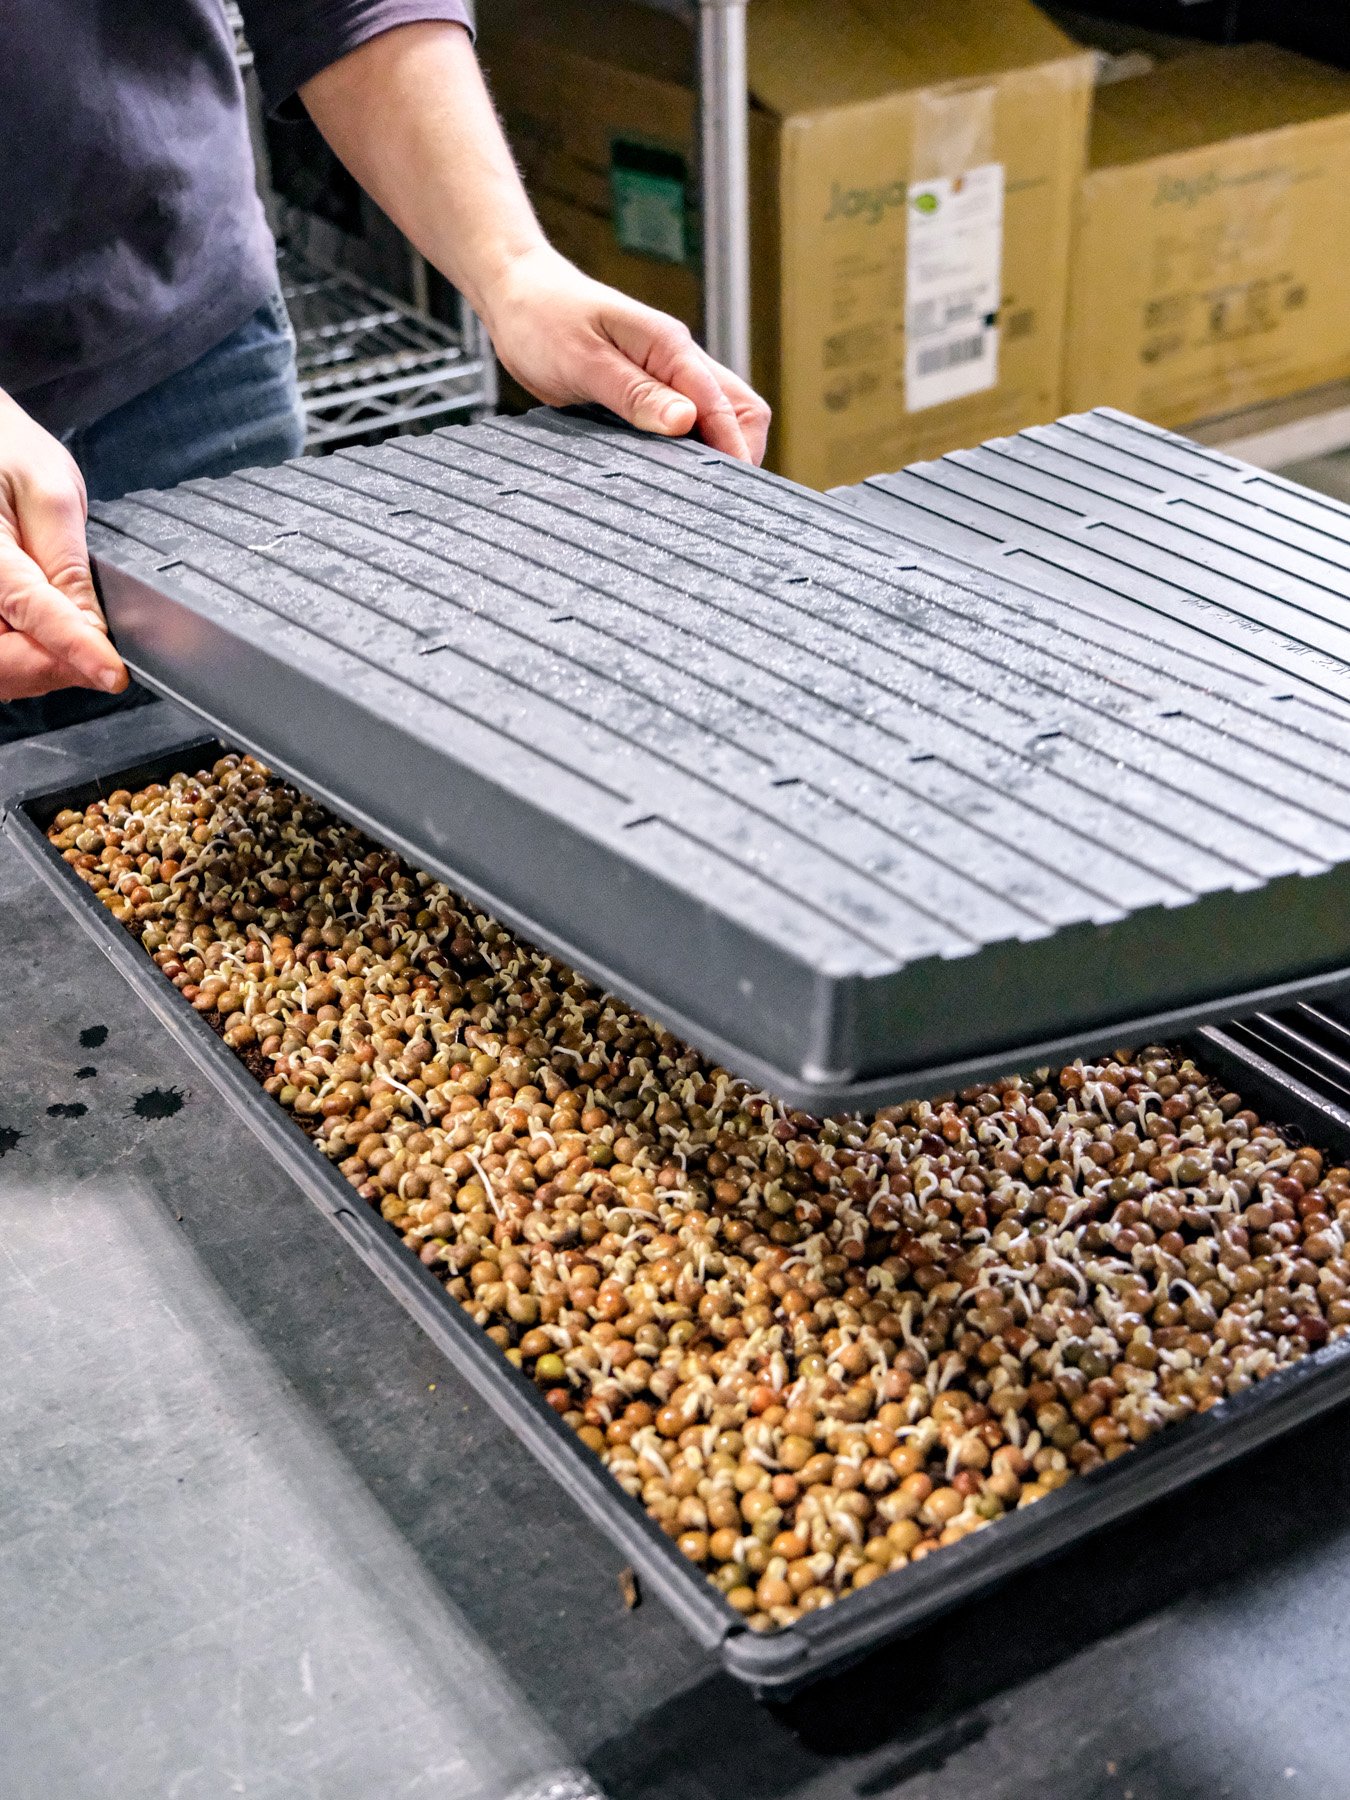
Once stems begin poking out, remove weights and flip the top tray over to create a blackout chamber.
Placing microgreens and shoots into blackout deprives them of light and encourages them to grow taller which increases yield.
Day 5
Lightly mist AM + PM
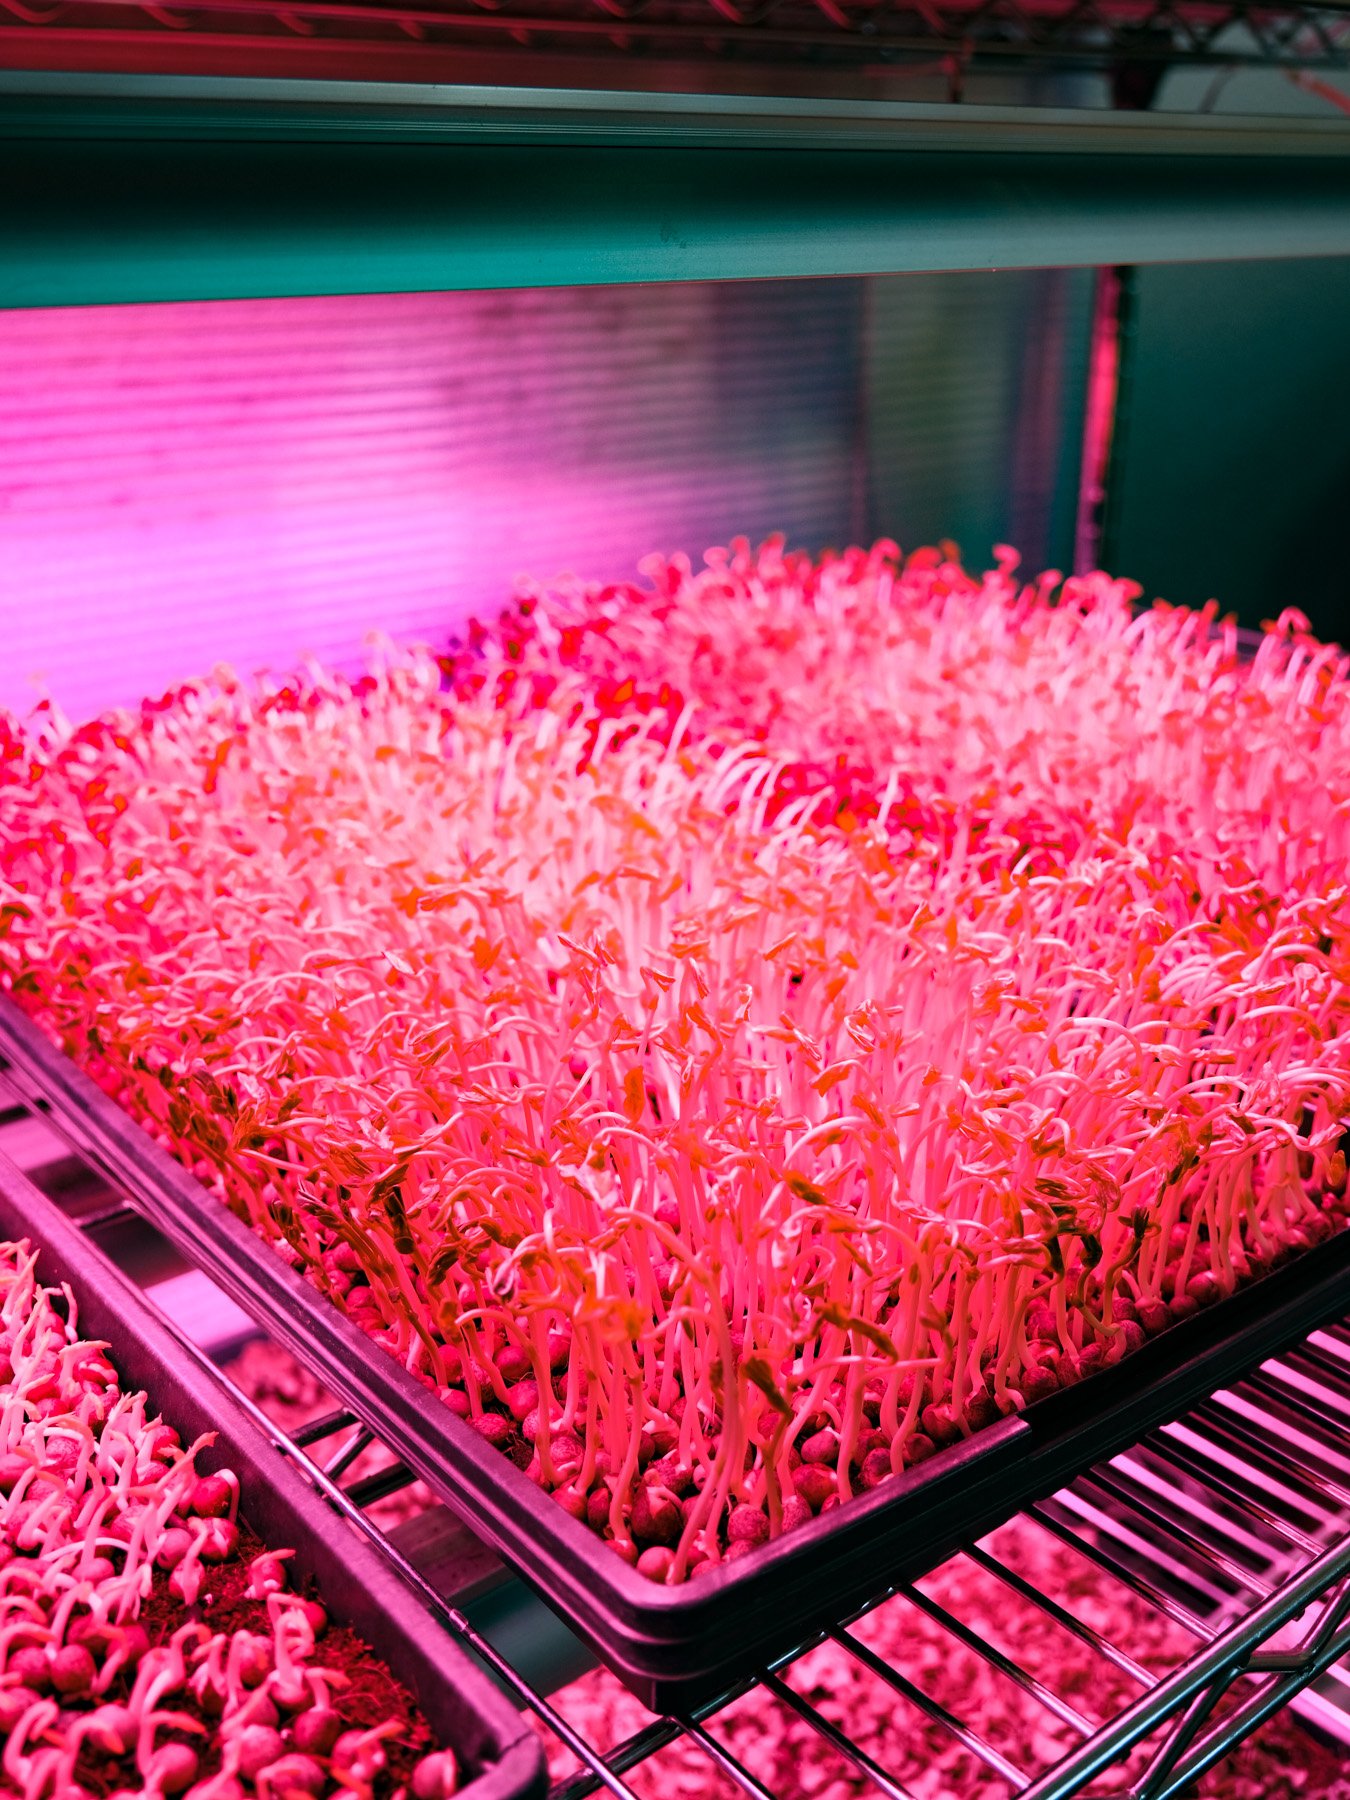
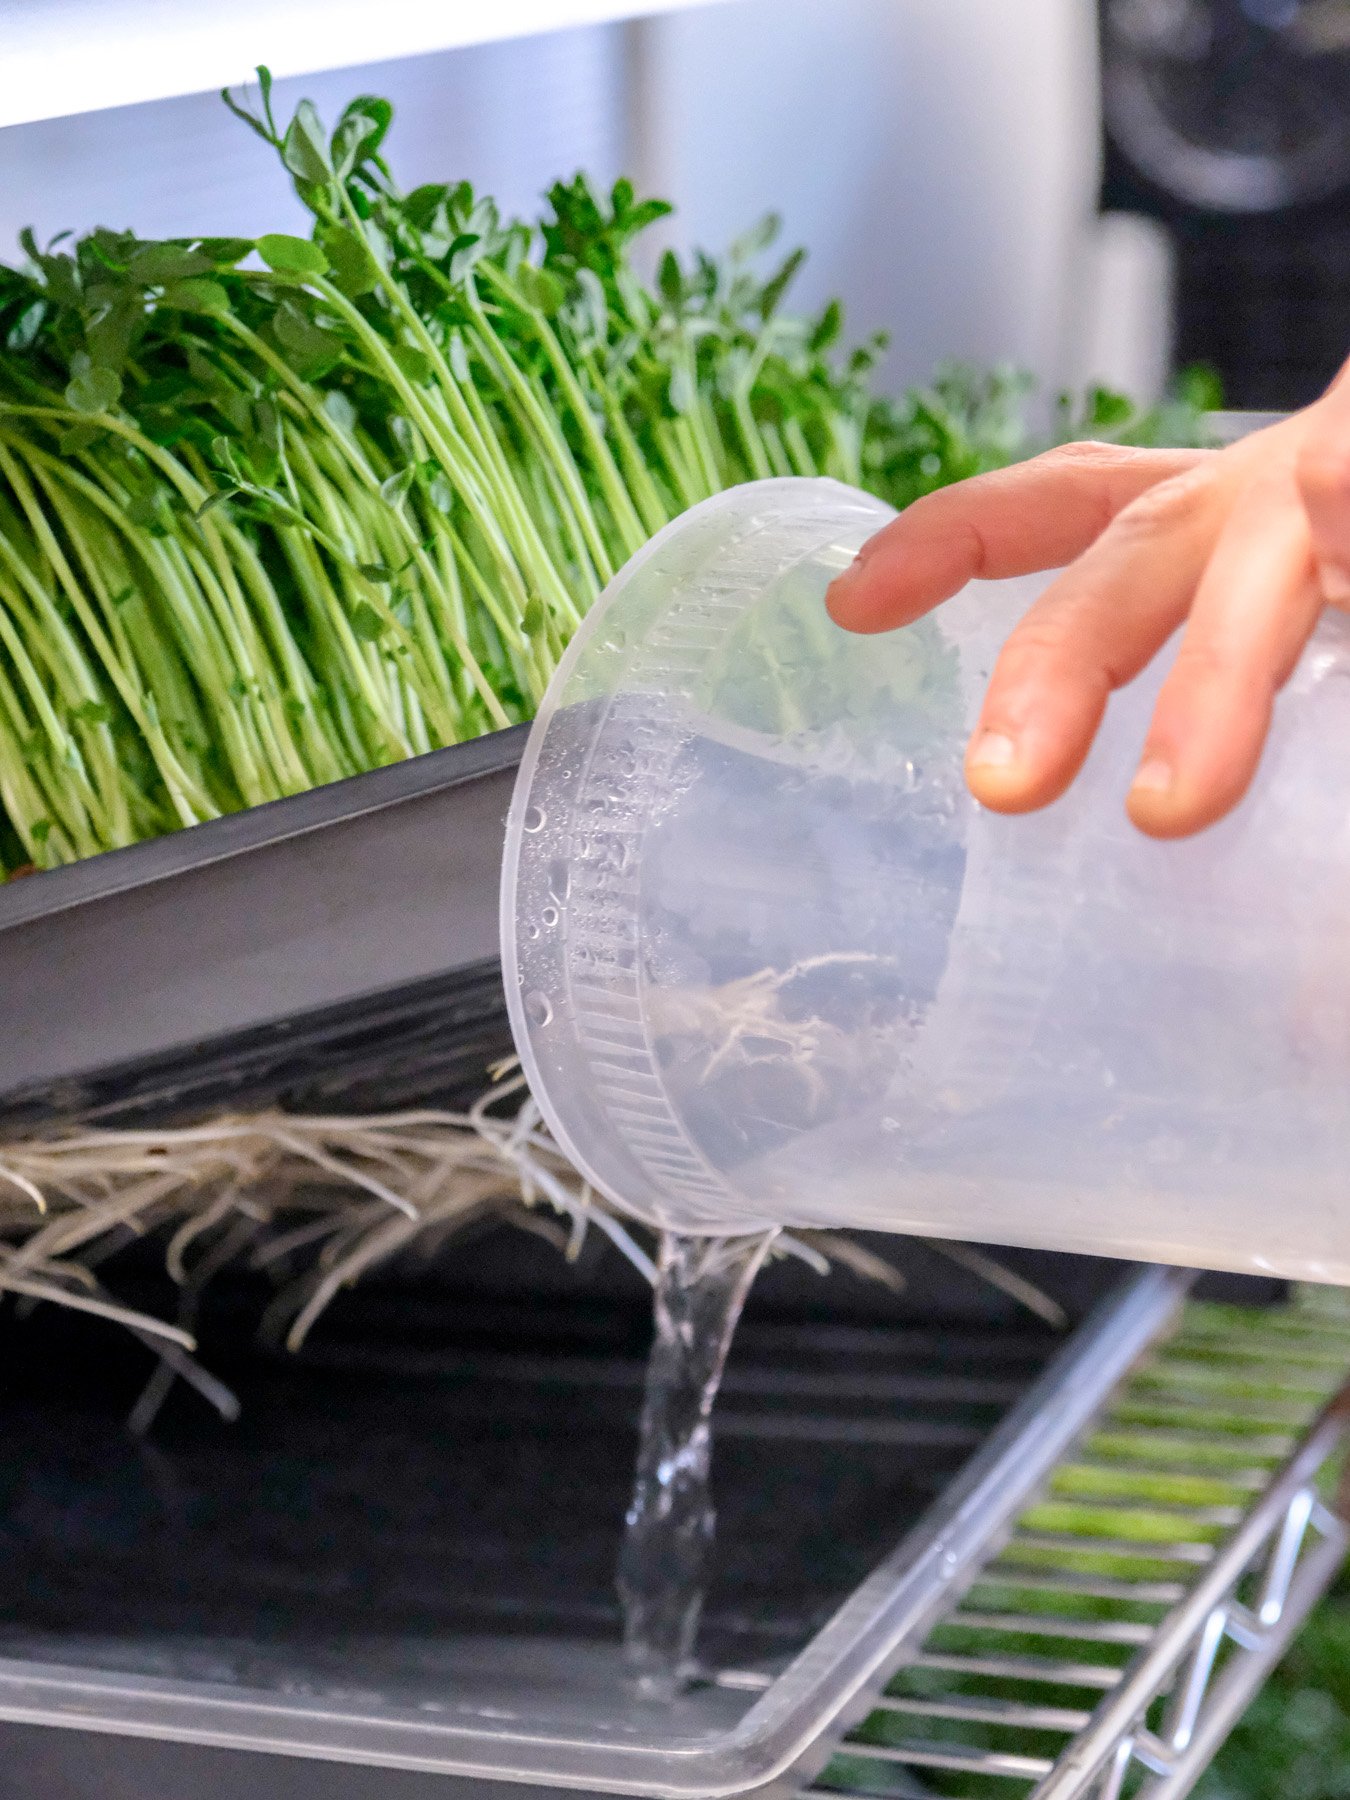
Once the stems reach 1" in height, remove the top tray completely and turn on grow lights. This can happen on day 5 or 6 depending on temperature and other growing conditions. Once the lights are on, switch to bottom watering.
Day 6
Bottom water, 1 pint, AM + PM
Day 7
Bottom water, 1 pint, AM + PM
Day 8
Bottom water, 1 pint, AM + PM
Day 9
Bottom water, 1 pint, AM + PM
Day 10
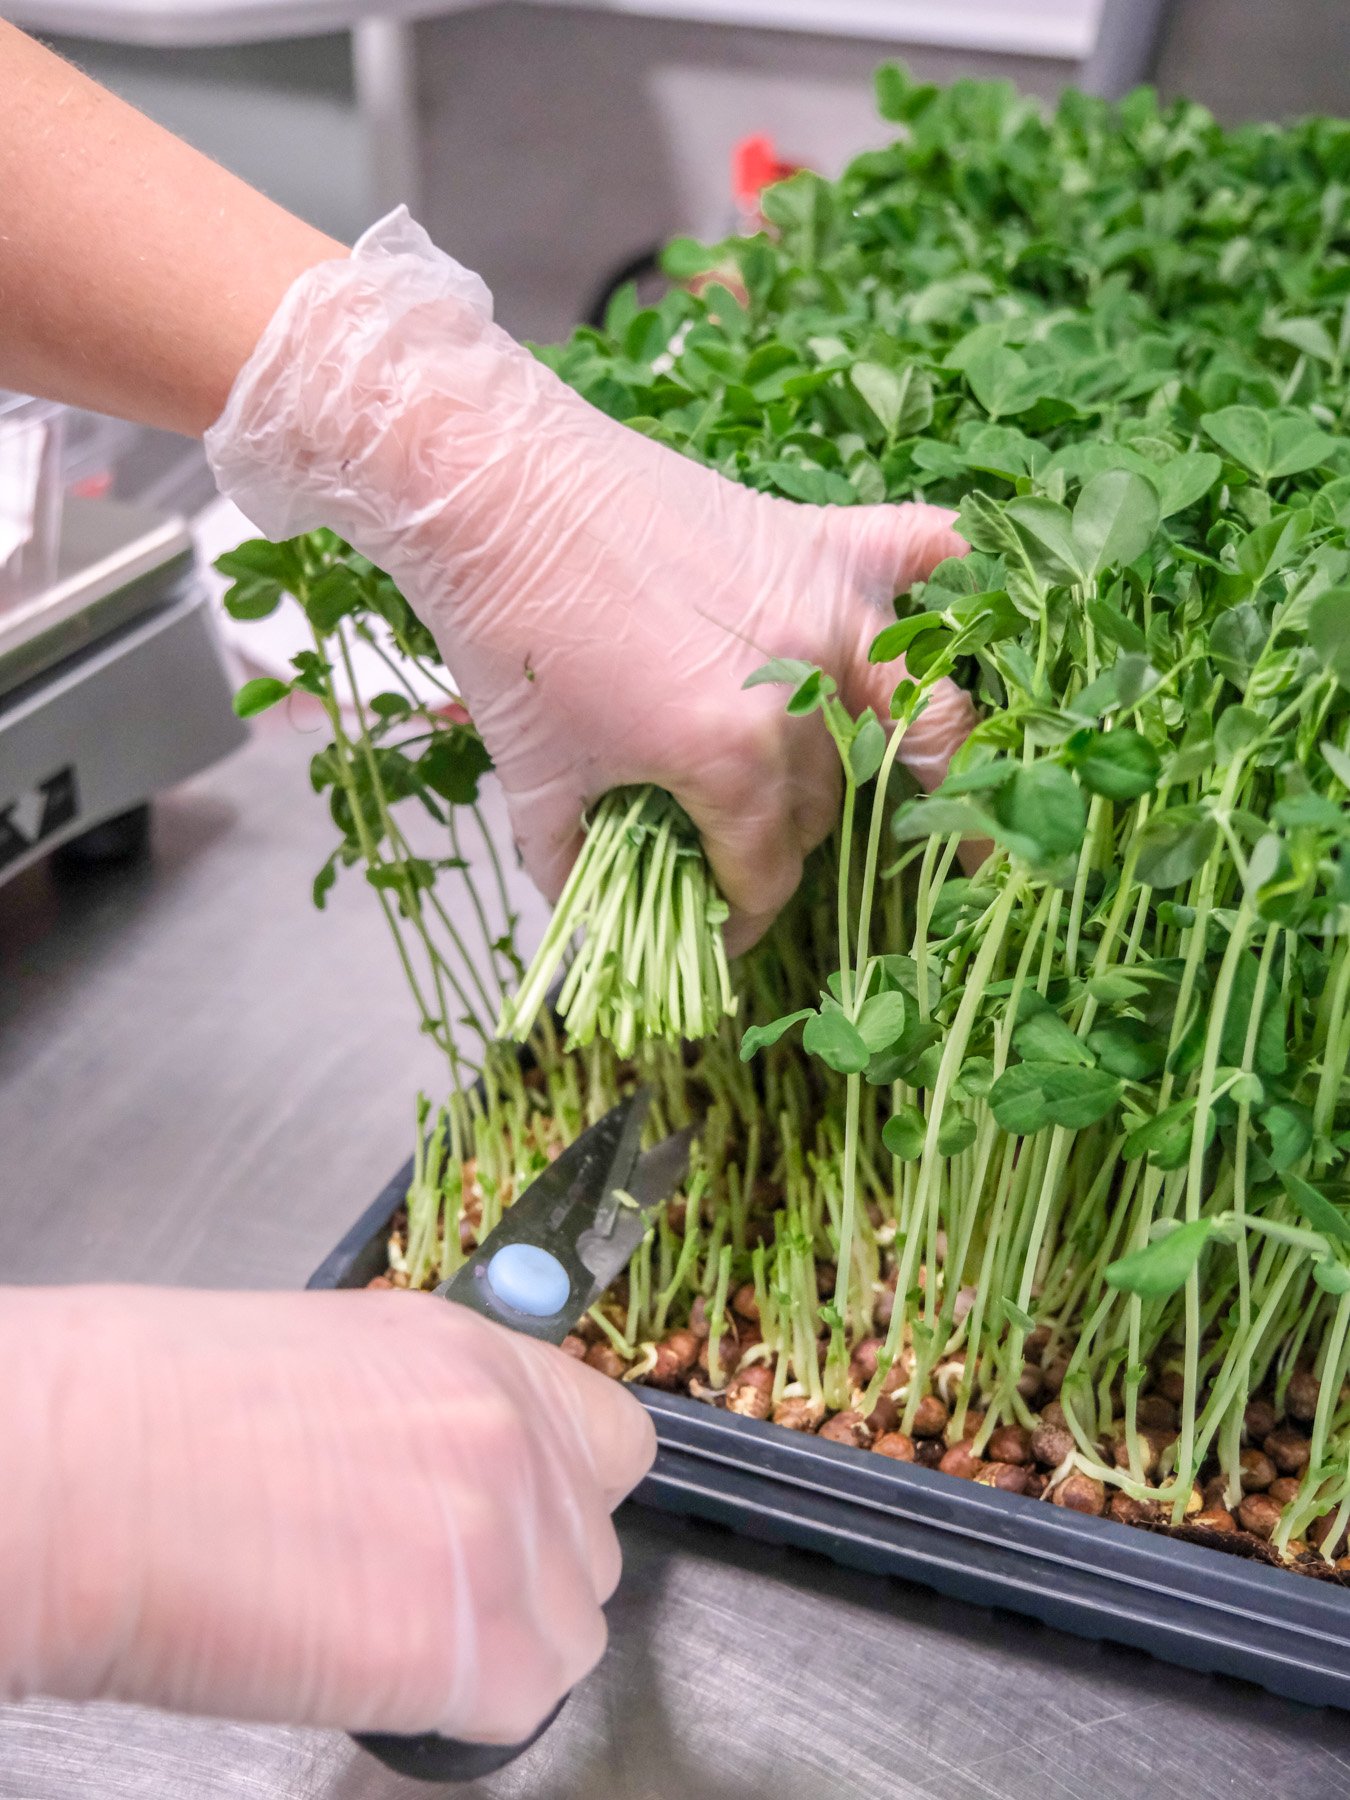
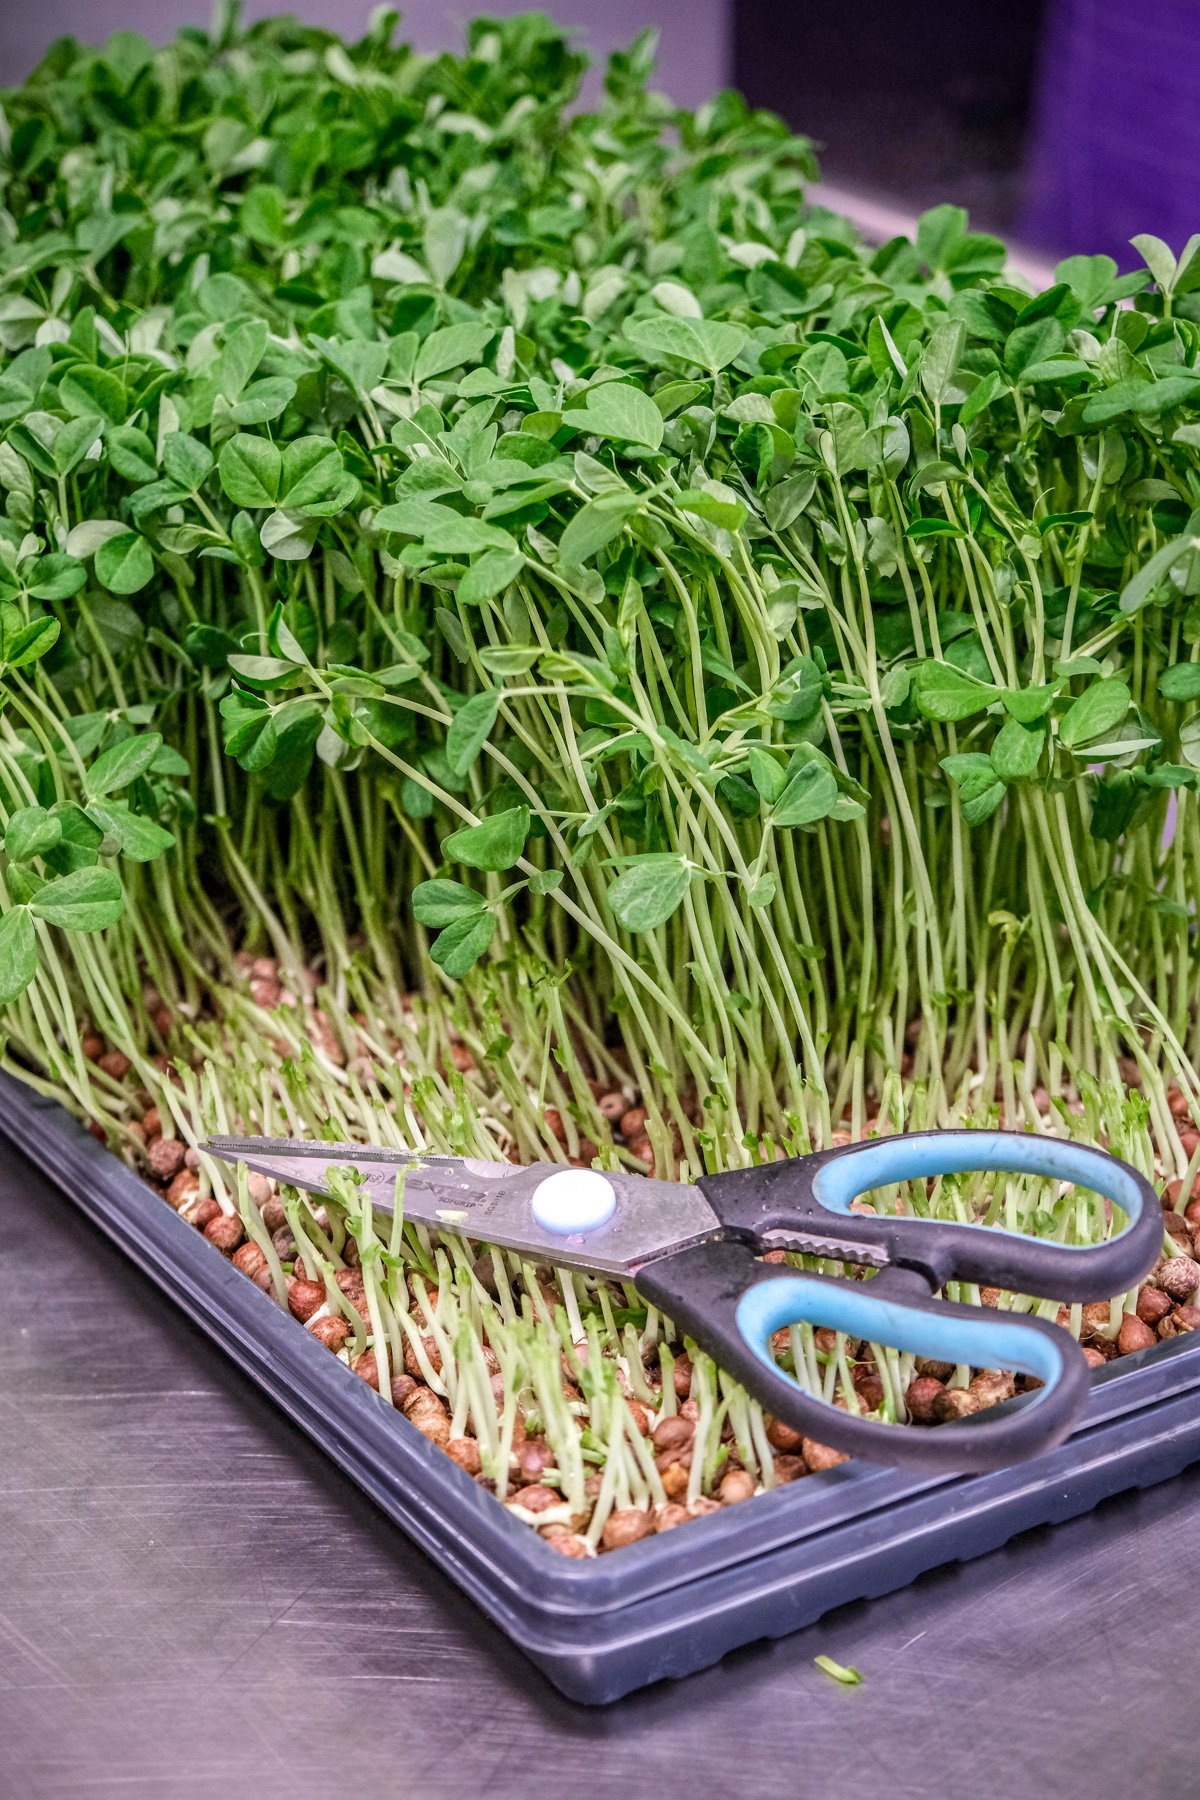
Harvest the shoots with scissors by cutting right above the soil line. Depending on growing conditions, the shoots will be about 4–8" tall at this point.
important note!
Pea shoots are susceptible to mold because of their large seeds. If any white mold begins to develop, stop it right away by spraying diluted food-grade hydrogen peroxide onto the affected area. Use approximately 1 teaspoon 3% food-grade hydrogen peroxide per 500 ml of water.
Storage tips
There should be no need to wash your pea shoots—they’re ready to eat at harvest time. Any excess water/washing will reduce their shelf life. Store inside an airtight container with a paper towel. Eat as soon as possible!